
How to dye leather shoes
Introduction:
Always wanted to dye a pair of leather shoes yourself? Well you can! Whether you have buyers remorse due to a pair you bought in a certain colour you ended up not liking or if your shoes are damaged/faded up to a point they can use some new colour. In this guide we focus on how to recolour your shoes with Saphir Teinture Francaise. The following steps will explain everything you need to know on how to prepare for colouring, the recolouring itself and how to finish your shoes after the dye has been applied.
*Disclaimer: Please note that dyeing leather shoes is not an easy job. It requires some practice to do it well. We recommend doing a trial run on a worn out pair of shoes that you would otherwise throw away.
- Thoroughly prepare leather shoes by removing the factory finish and cleaning the leather.
- Choose the right leather dyes and apply them carefully for an even colour.
- Understand why it’s important to practise on an old pair first, since leather dye is permanent.
- Nourish and protect the dyed leather with products such as Saphir Médaille d'Or Renovateur and Pommadier cream.
- Finish the transformation with a high shine layer for a professional-looking finish.
Before/after
Shoes looking tired?
Transform them by dyeing them into a different colour. Usually the darker the colour the easier it is to get a good result.

Before

After
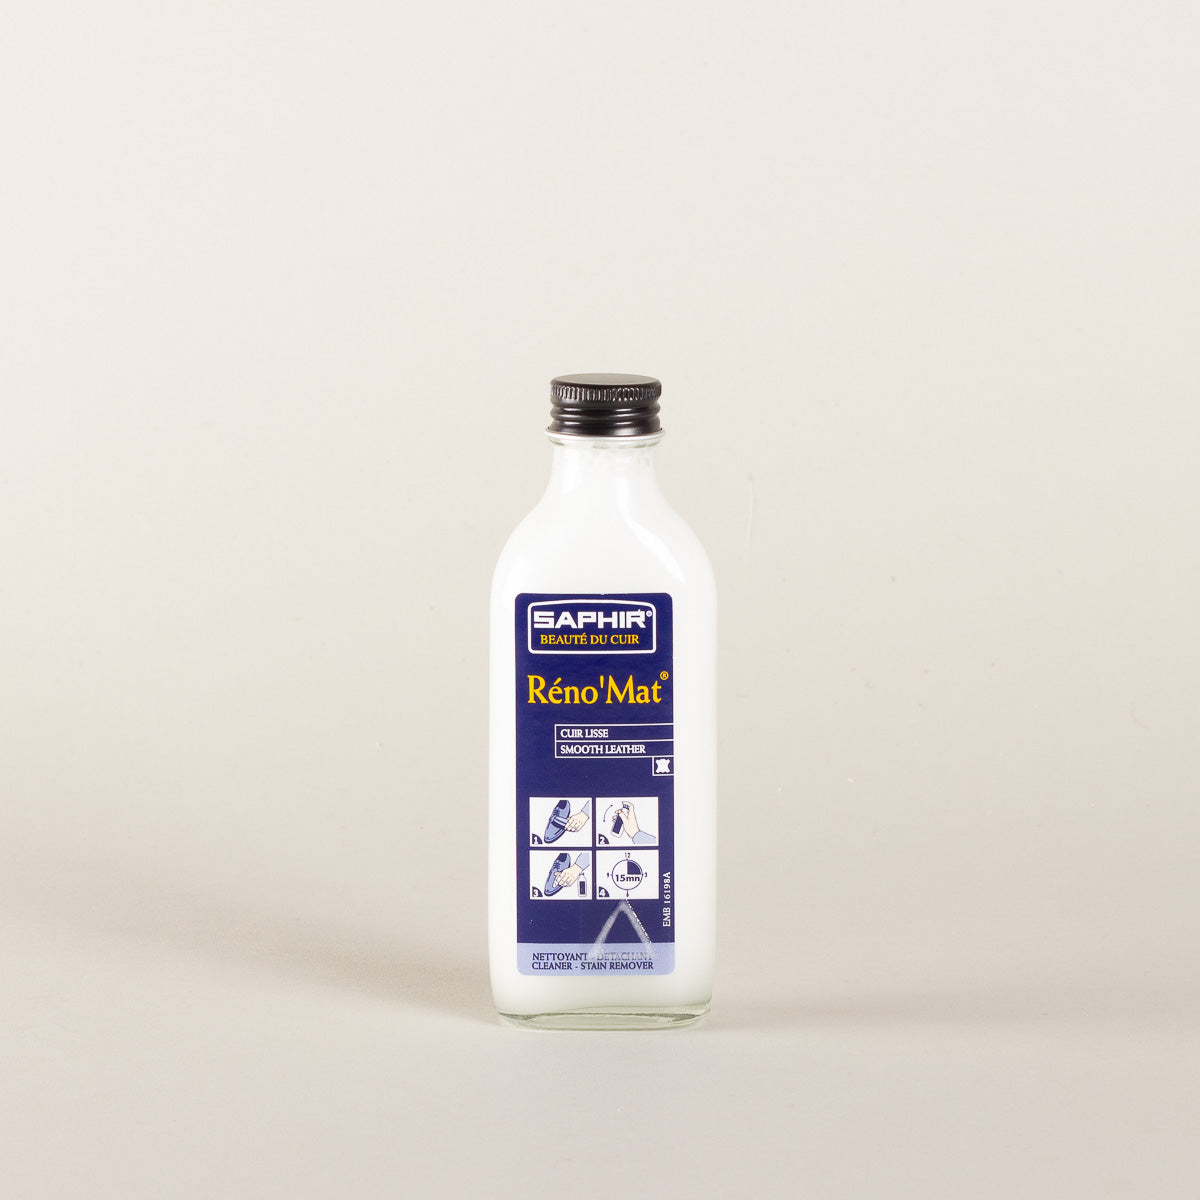
Removing old shoe polish and factory finish
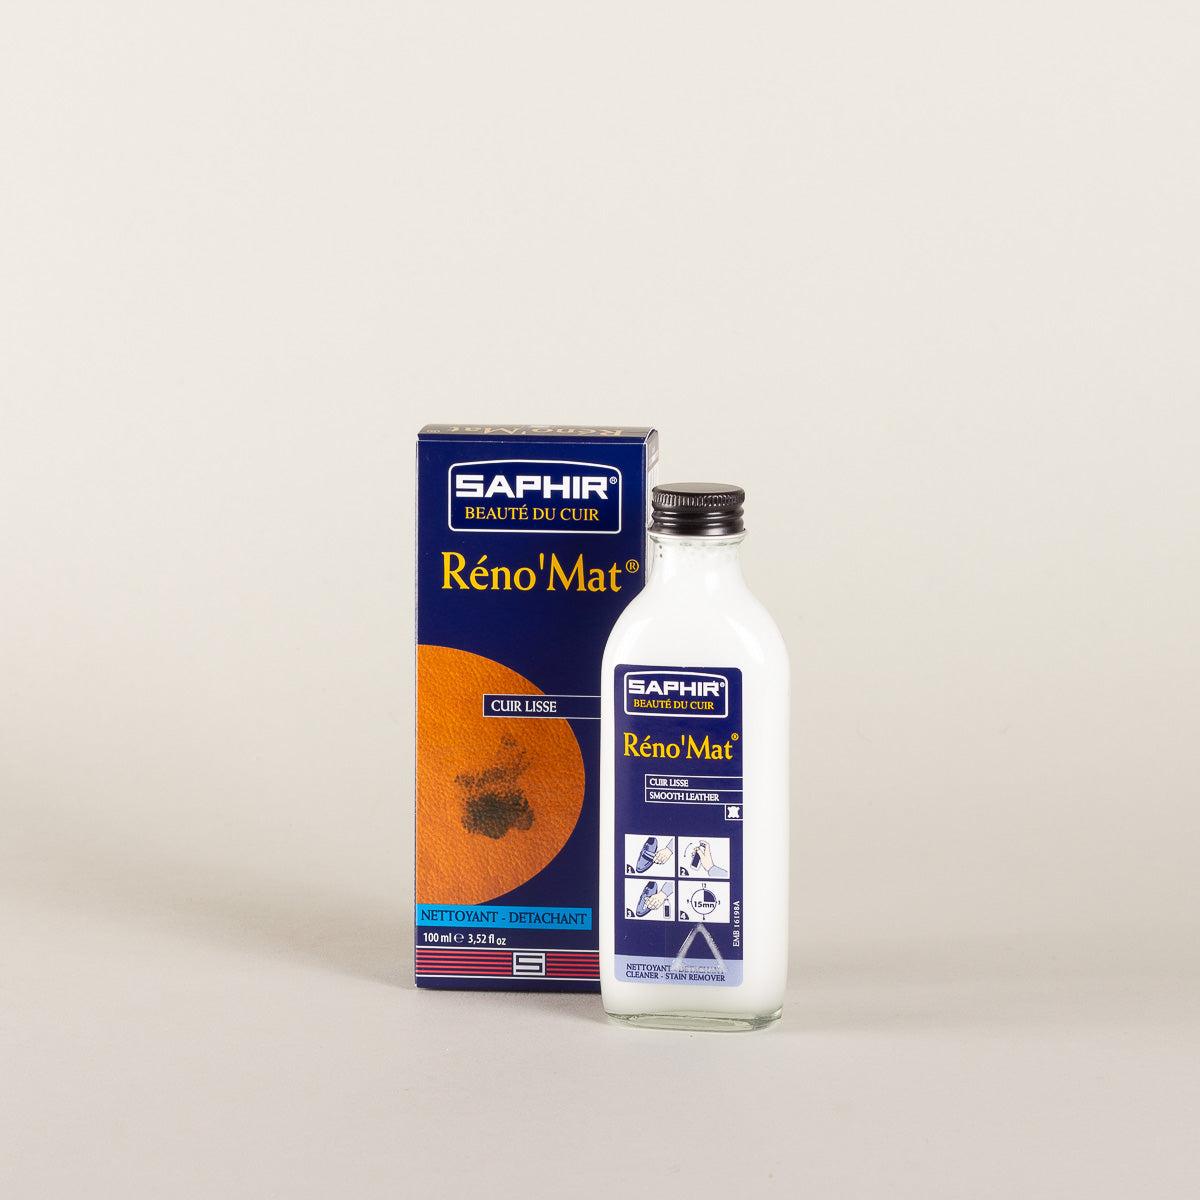
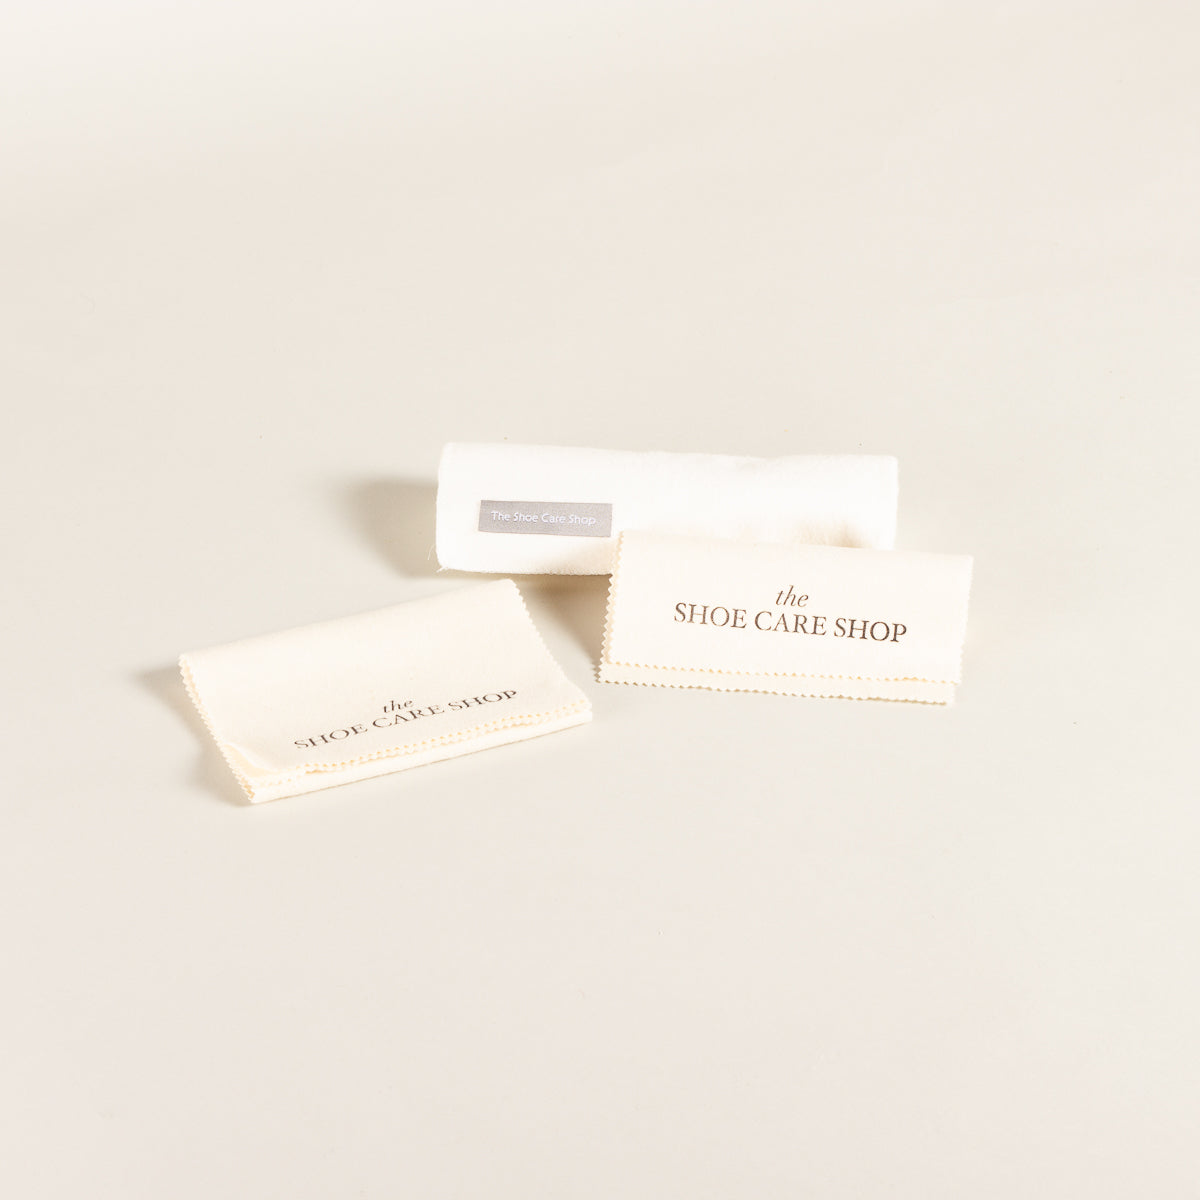
We first need to strip the shoes from as much shoe polish as possible. A product which does this perfectly is Saphir Renomat. Apply the Renomat with the included applicator cloth and rub it into the shoes. You will notice that all shoe polish from the shoes will end up on the cloth. Apply and rub the whole shoe for about two-three times, normally, this should be sufficient.
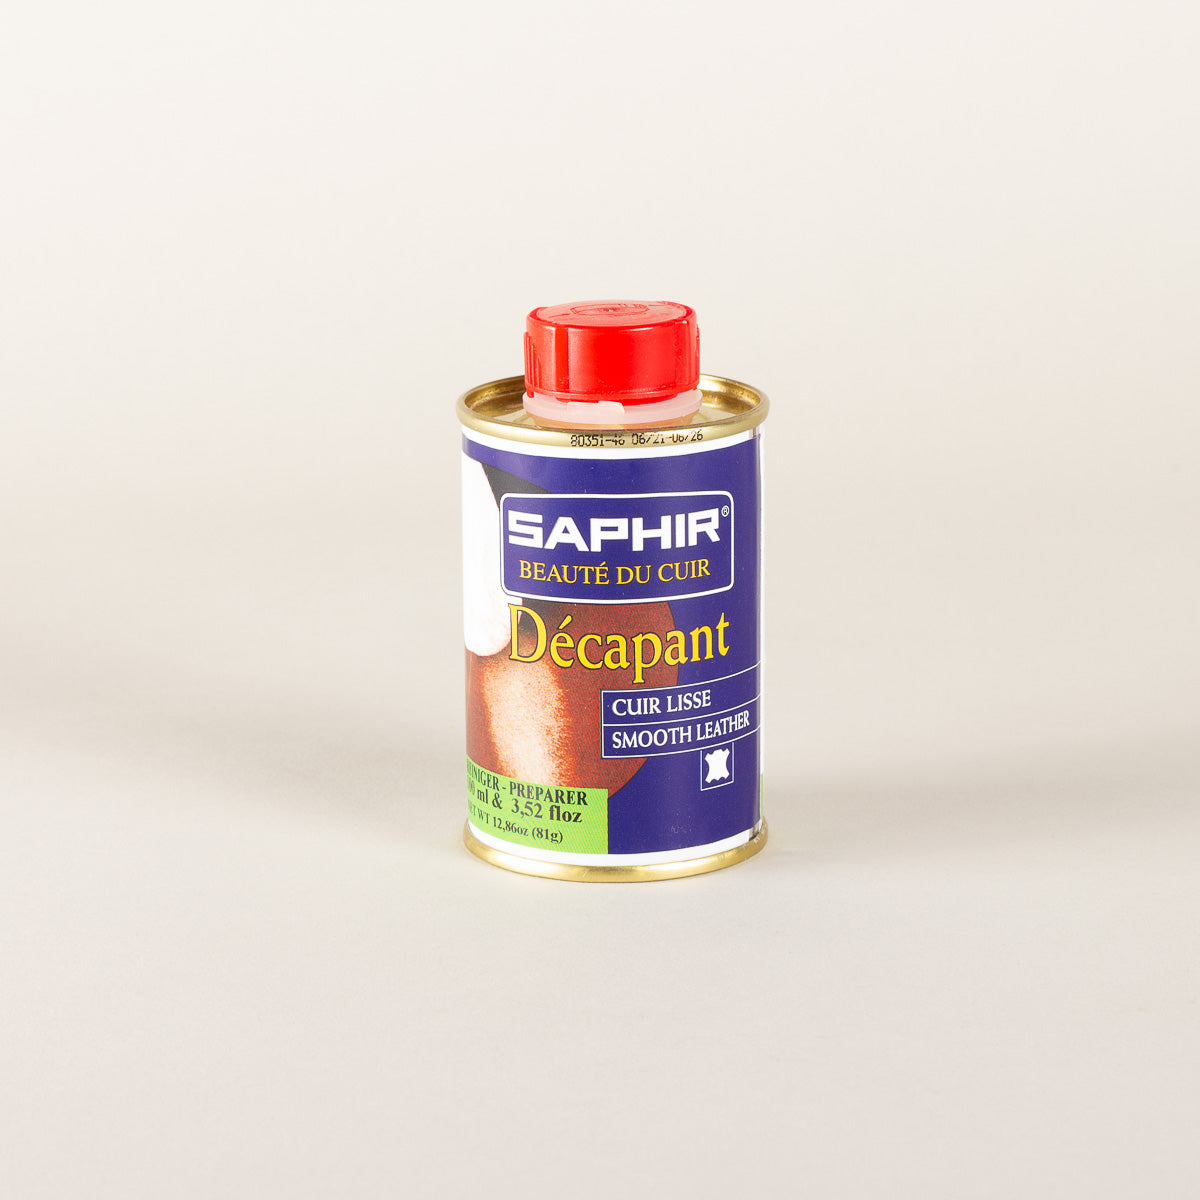
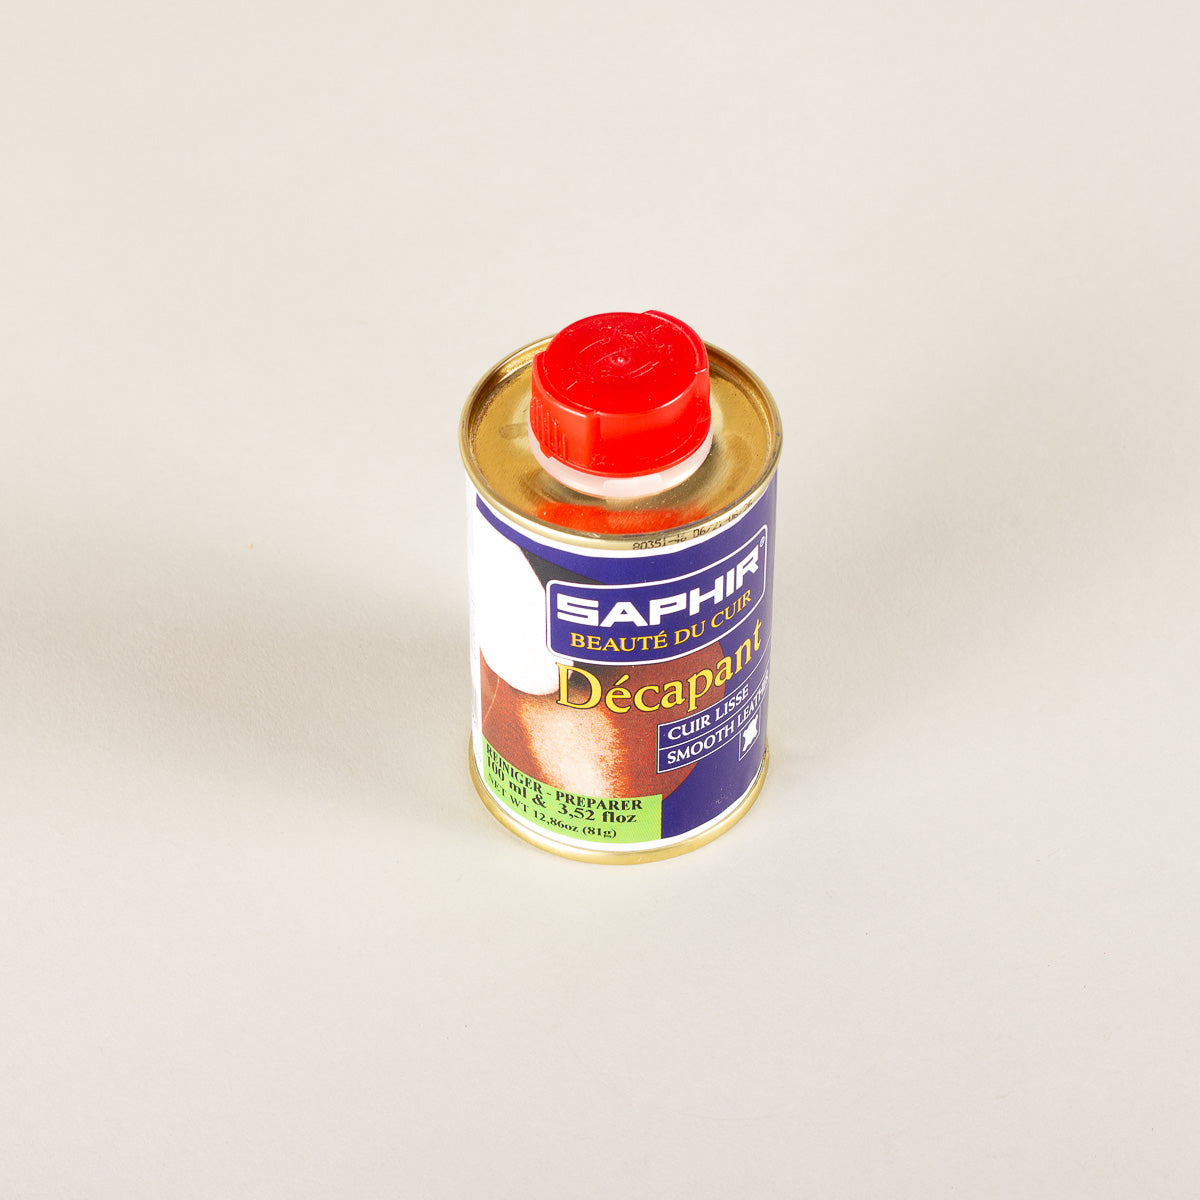
Now we are ready to start attacking the factory finish on the shoes. Pulling out the old dye out of the leather can best be done with Saphir Decapant. This can take quite a while and due to the vapors we recommend working outside or in a well ventilated room. Keep rubbing the leather with Saphir Decapant until you see no more colour bleeding onto the cloth. Use a cotton swab to get in between the sole and upper of the shoes. After you are done cleaning it is usually best to let the shoes rest for about 12 hours to let all the solvents flash off.

Tip!
Wear protective gloves to keep your hands safe from the solvents, and make sure you’re working in a well-ventilated area or outdoors.
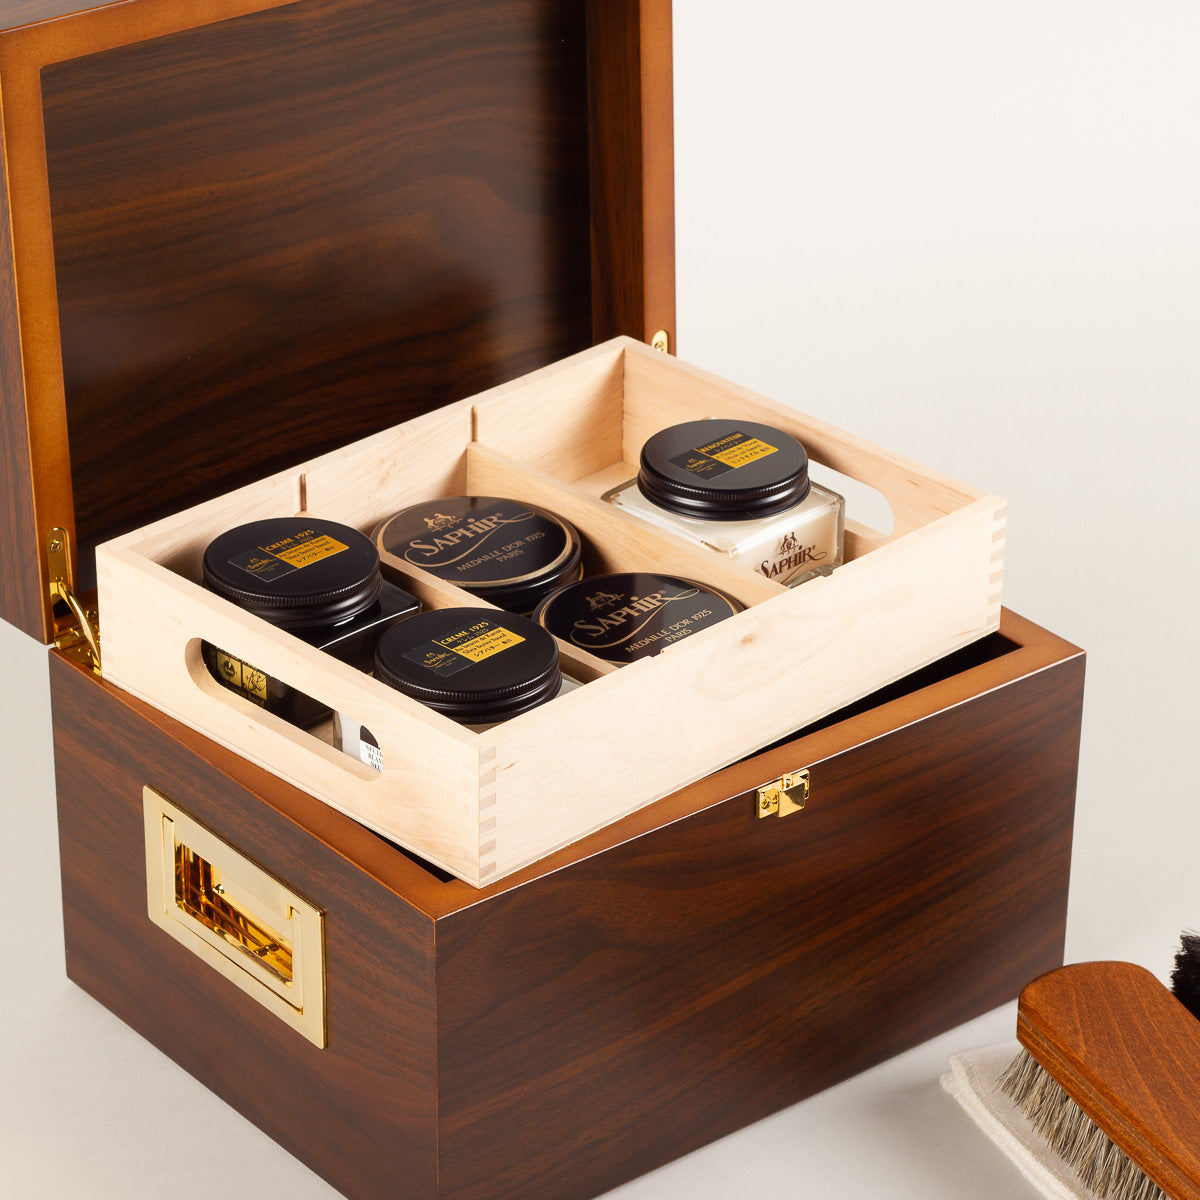
Products for this step

Prepping and mixing colours
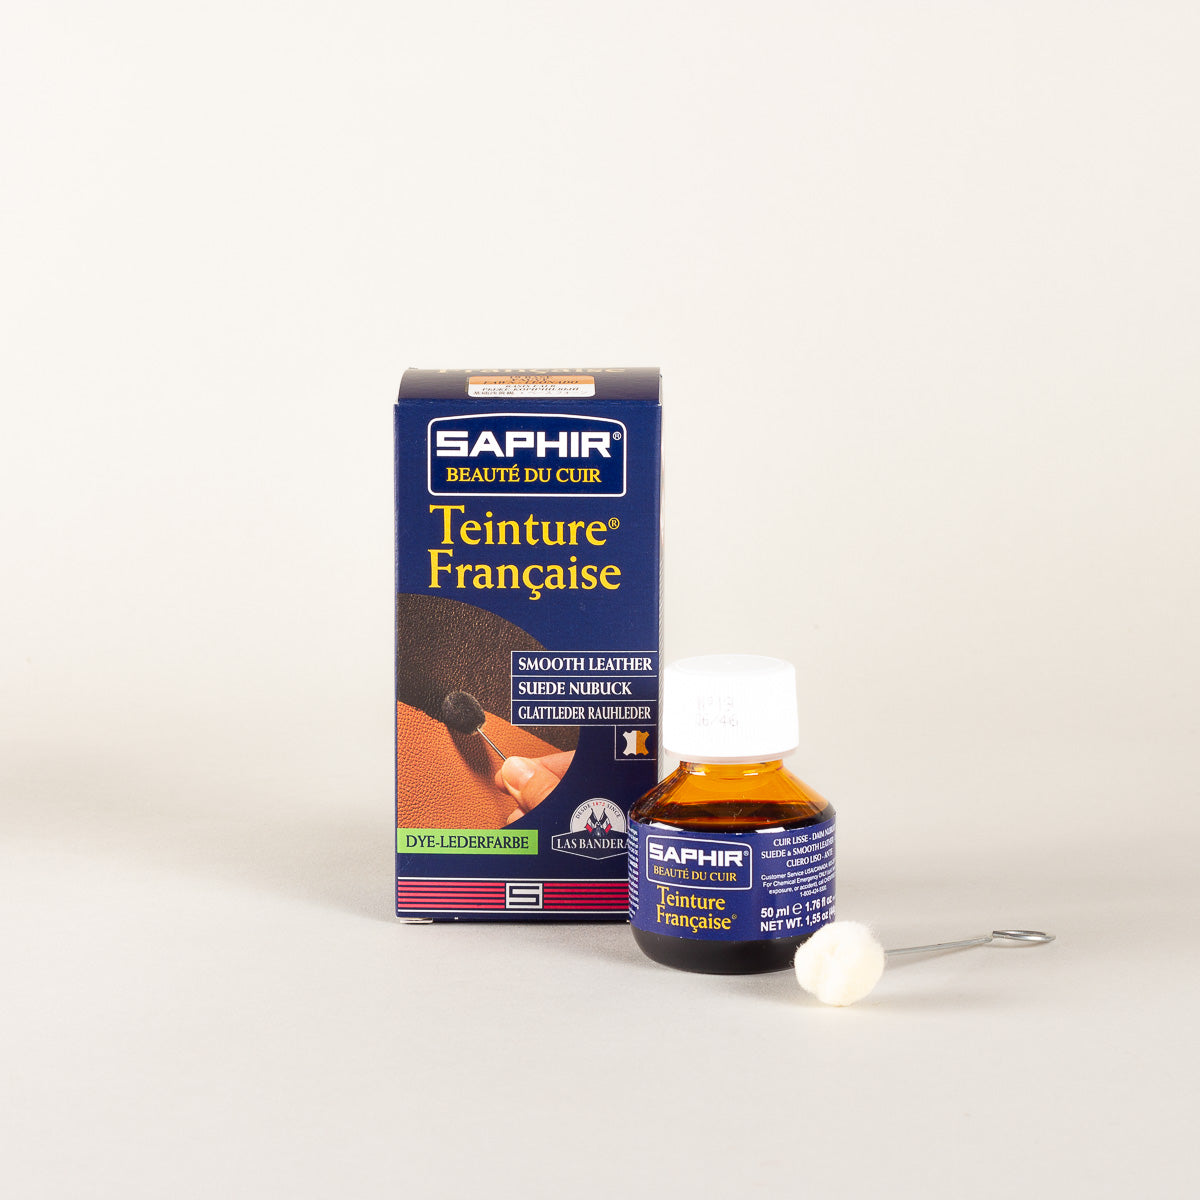
Start by getting all your brushes and/or cotton cloth ready. You have to decide for yourself which brushes you need. If you have a pair of shoes with a lot of small details on them we recommend getting a smaller brush for the details and a bigger brush for an even distribution of the dye on the larger areas. Saphir Teinture francaise comes with a cotton ball which we prefer to dye larger areas with.
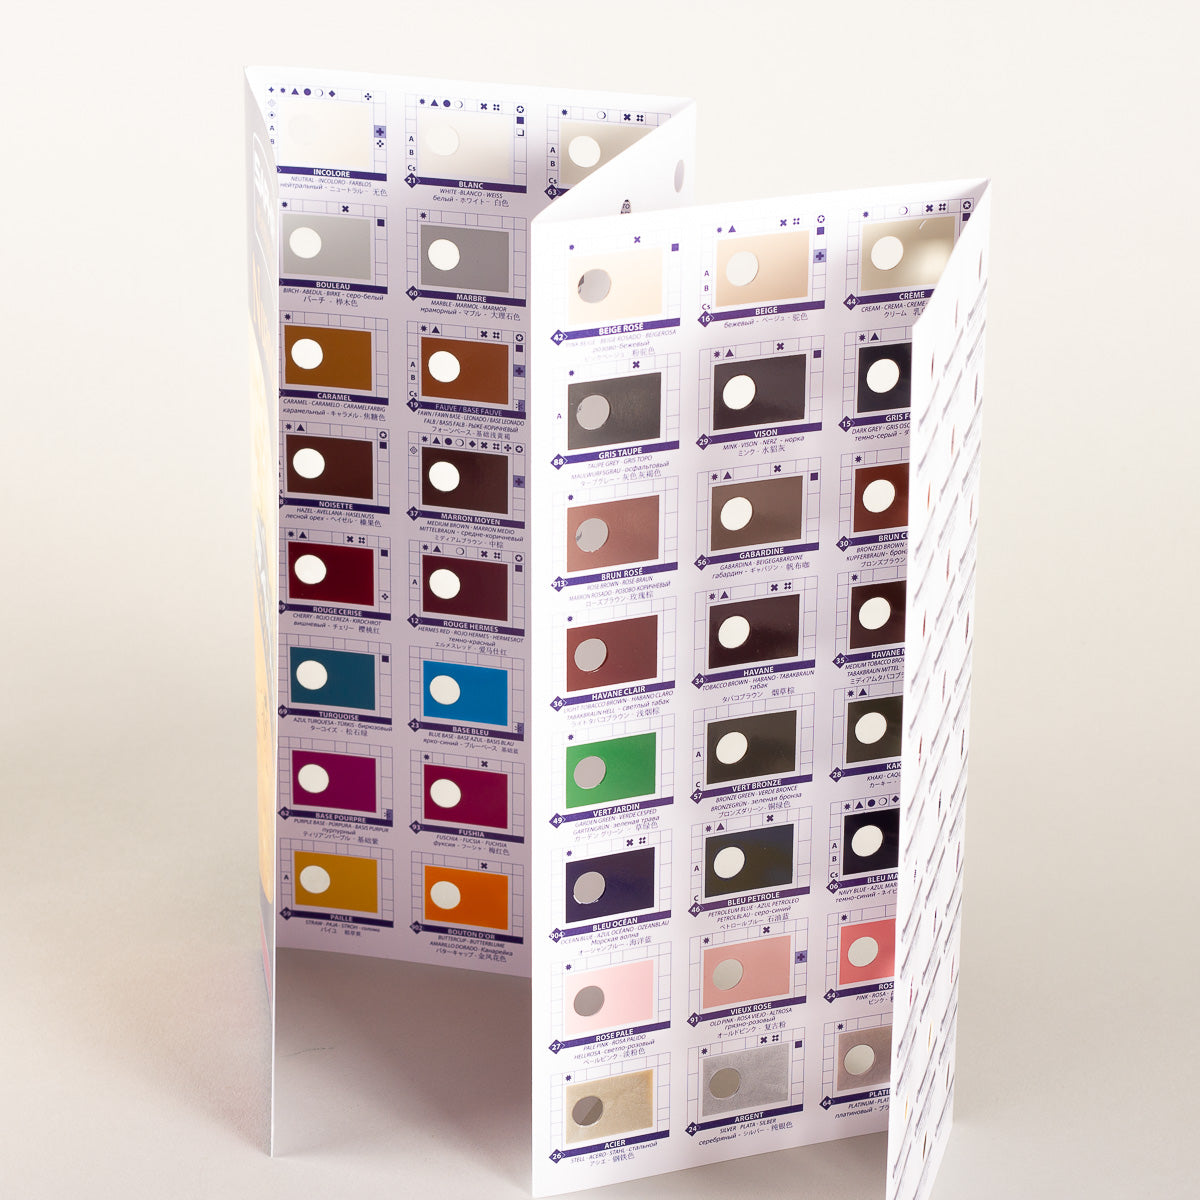
We recommend diluting the dye using colour 00 leather dye. That way you have more control over the depth of colour. The more layers you apply the deeper/darker the colour will get. Usually we recommend mixing in around 40% of 00 colour lightener with 60% coloured dye. Please note that Saphir only has a few colours available and that you have to mix colours to create the colour you want. Always test the colour on a piece of paper first to see if it is to your liking. Be sure to let it dry to see the final colour.

Tip!
Always let the dye dry first. Wet dye will always look different in colour compared to when it has fully dried.
Products for this step

Dyeing the leather
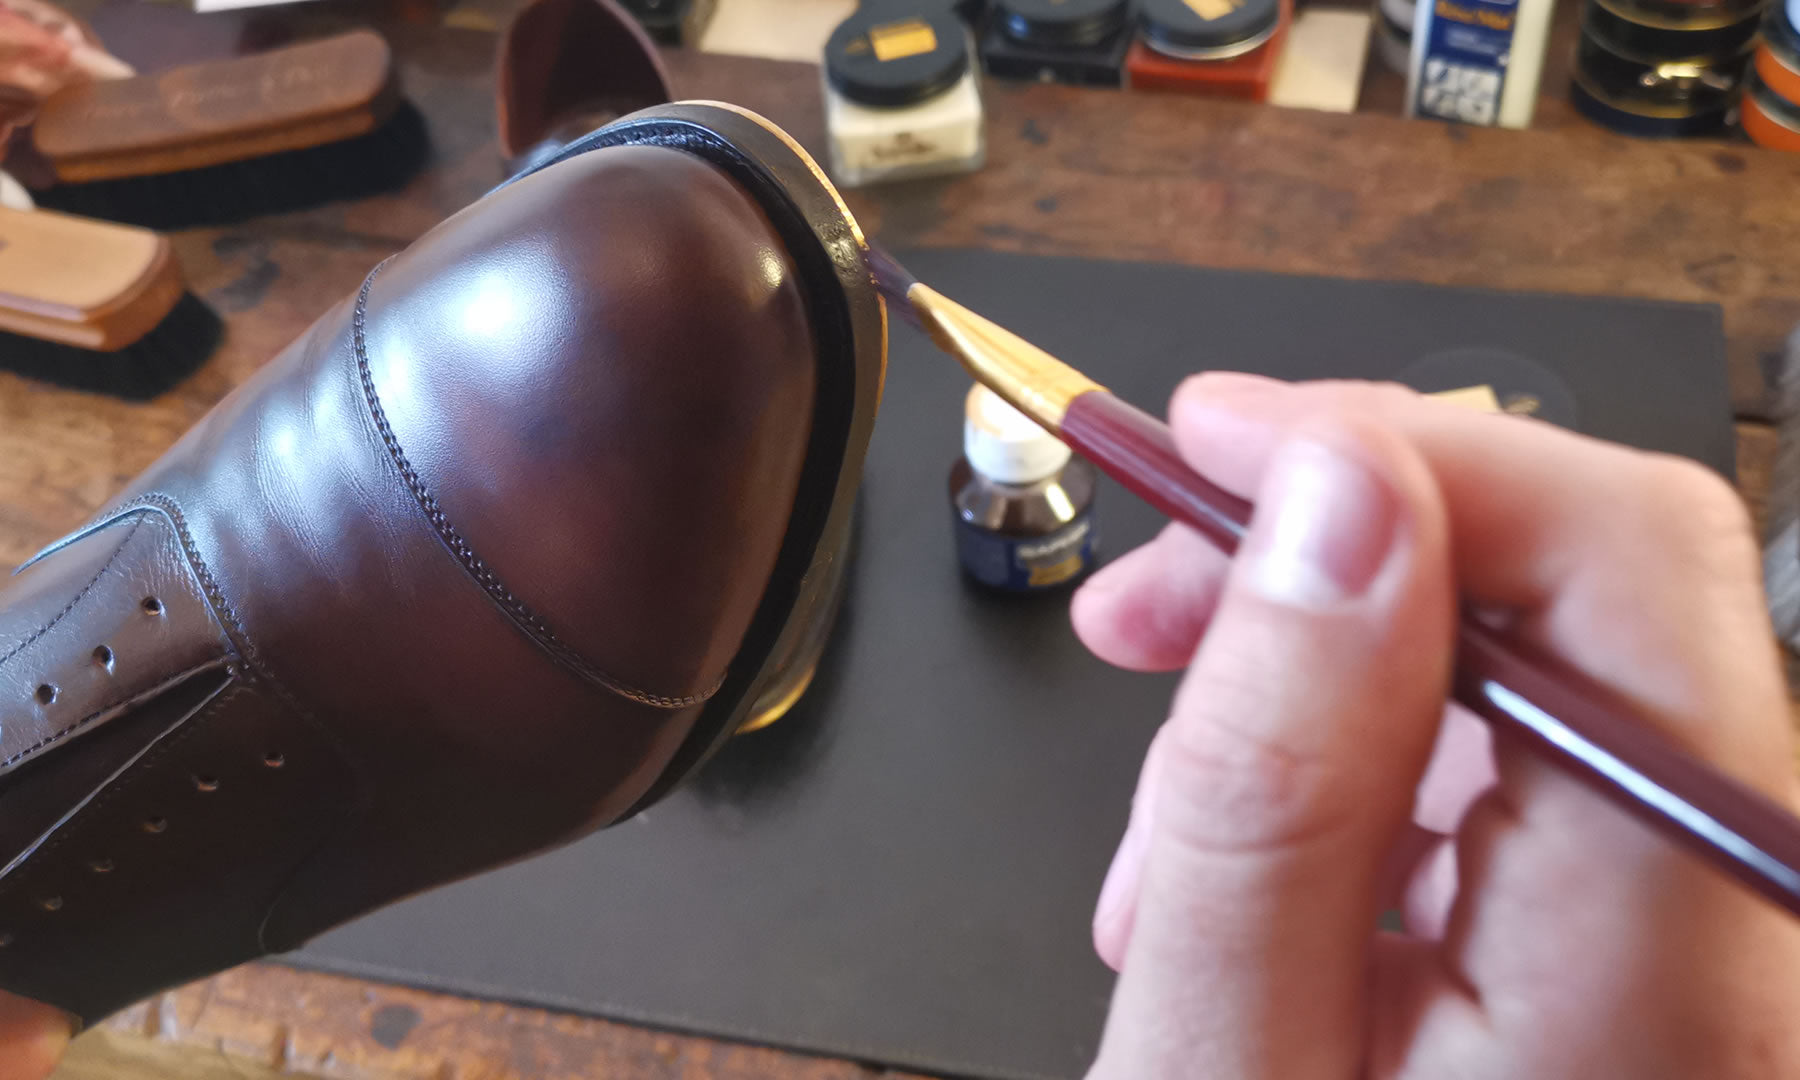
It is finally time! We are going to put some dye on the shoes. Apply the Teinture Francaise leather dye using the cotton swab included with the dye. Squeeze out any excess dye out of the swab before applying. You want a light, but still even coating each application. Dye the entire shoe and colour hard to reach places using a small brush. Most likely you are going to have to apply a couple of layers to obtain a rich and deep colour.
After the first layer the colour will be quite spotty and will show streaks. This is normal. On average, you need to do 3-4 applications to get an even result. And even then some of the spotting will only dissapear after using shoe polish. After applying a layer of dye be sure to let the shoes dry for at least 3-4 hours before applying a new layer of dye. Usually the darker colour of dye the easier it is to get an even finish (such as dark brown or black).
Tip!
Use a small paintbrush to reach tricky spots, like under the eyelets or where the sole meets the leather.
Products for this step
Shining & final colour corrections
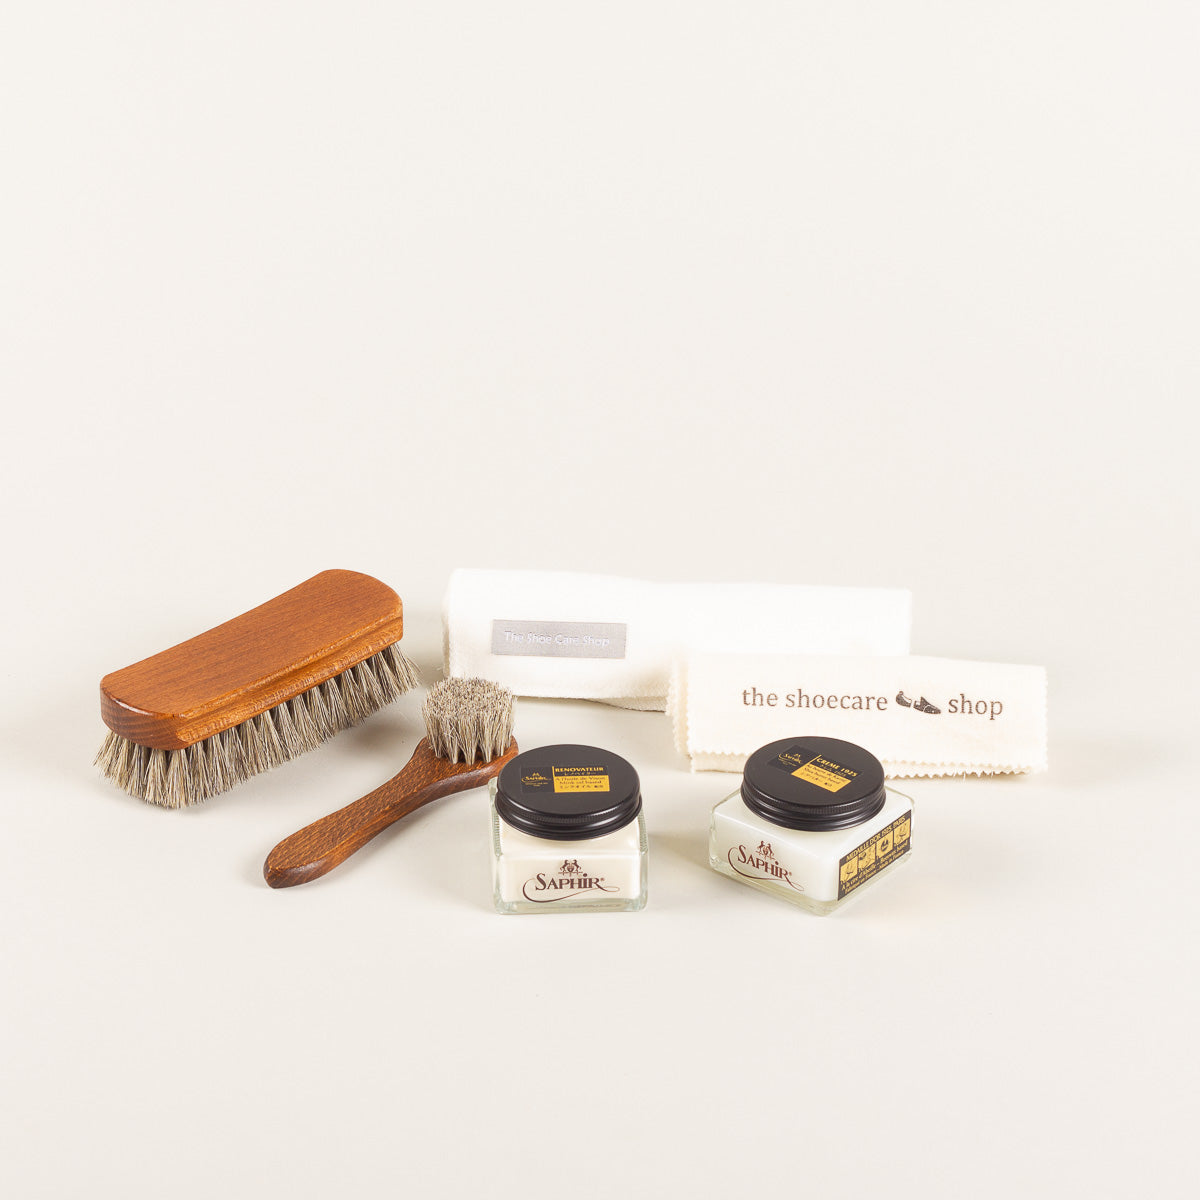
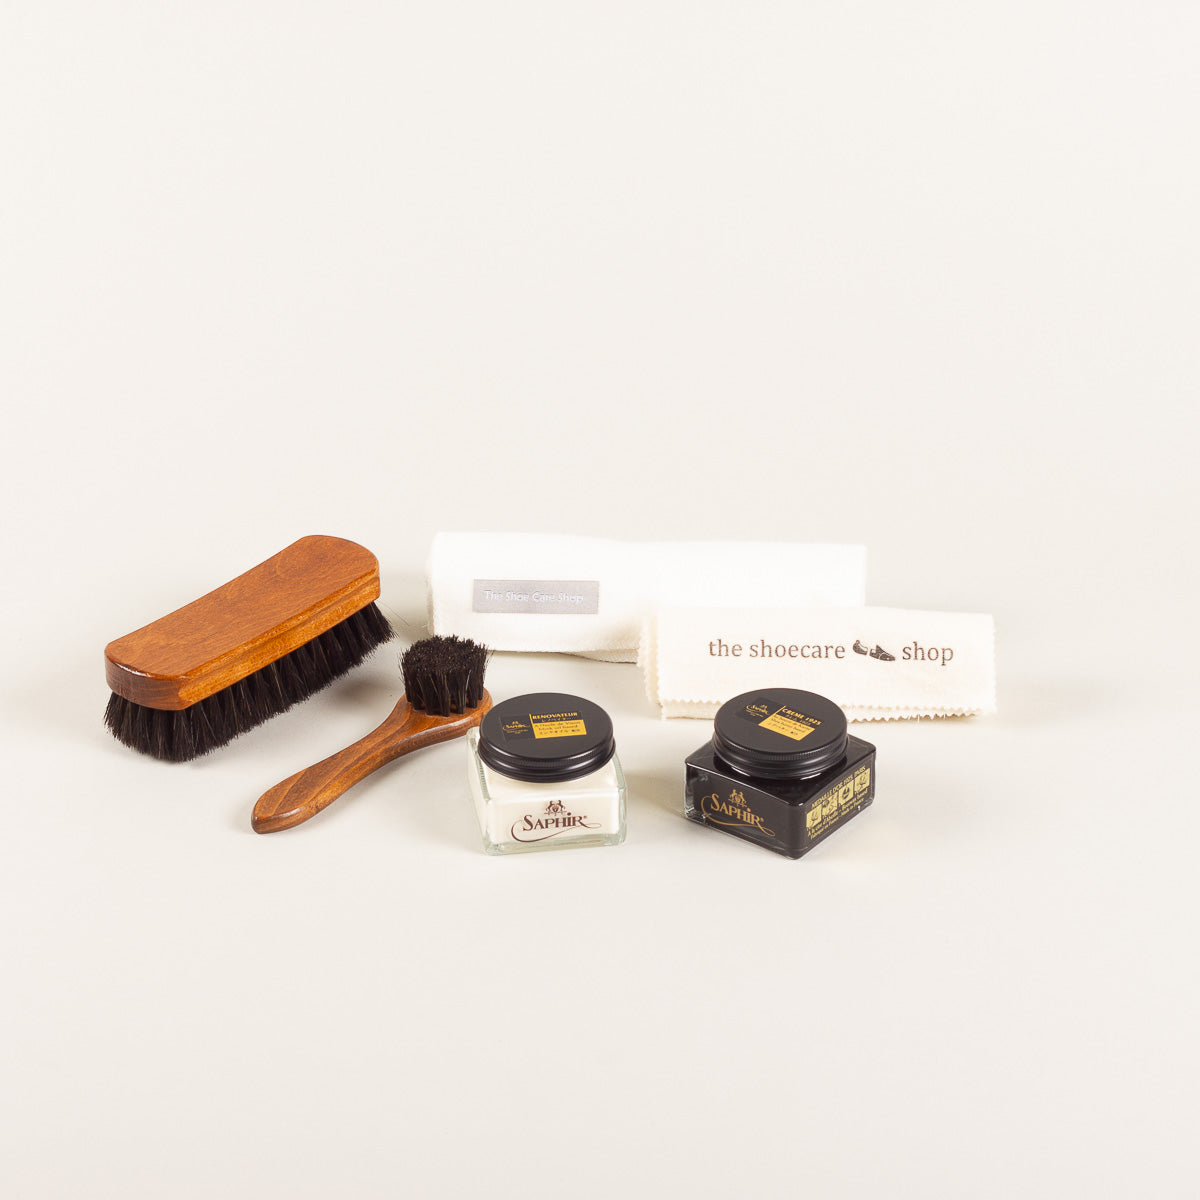
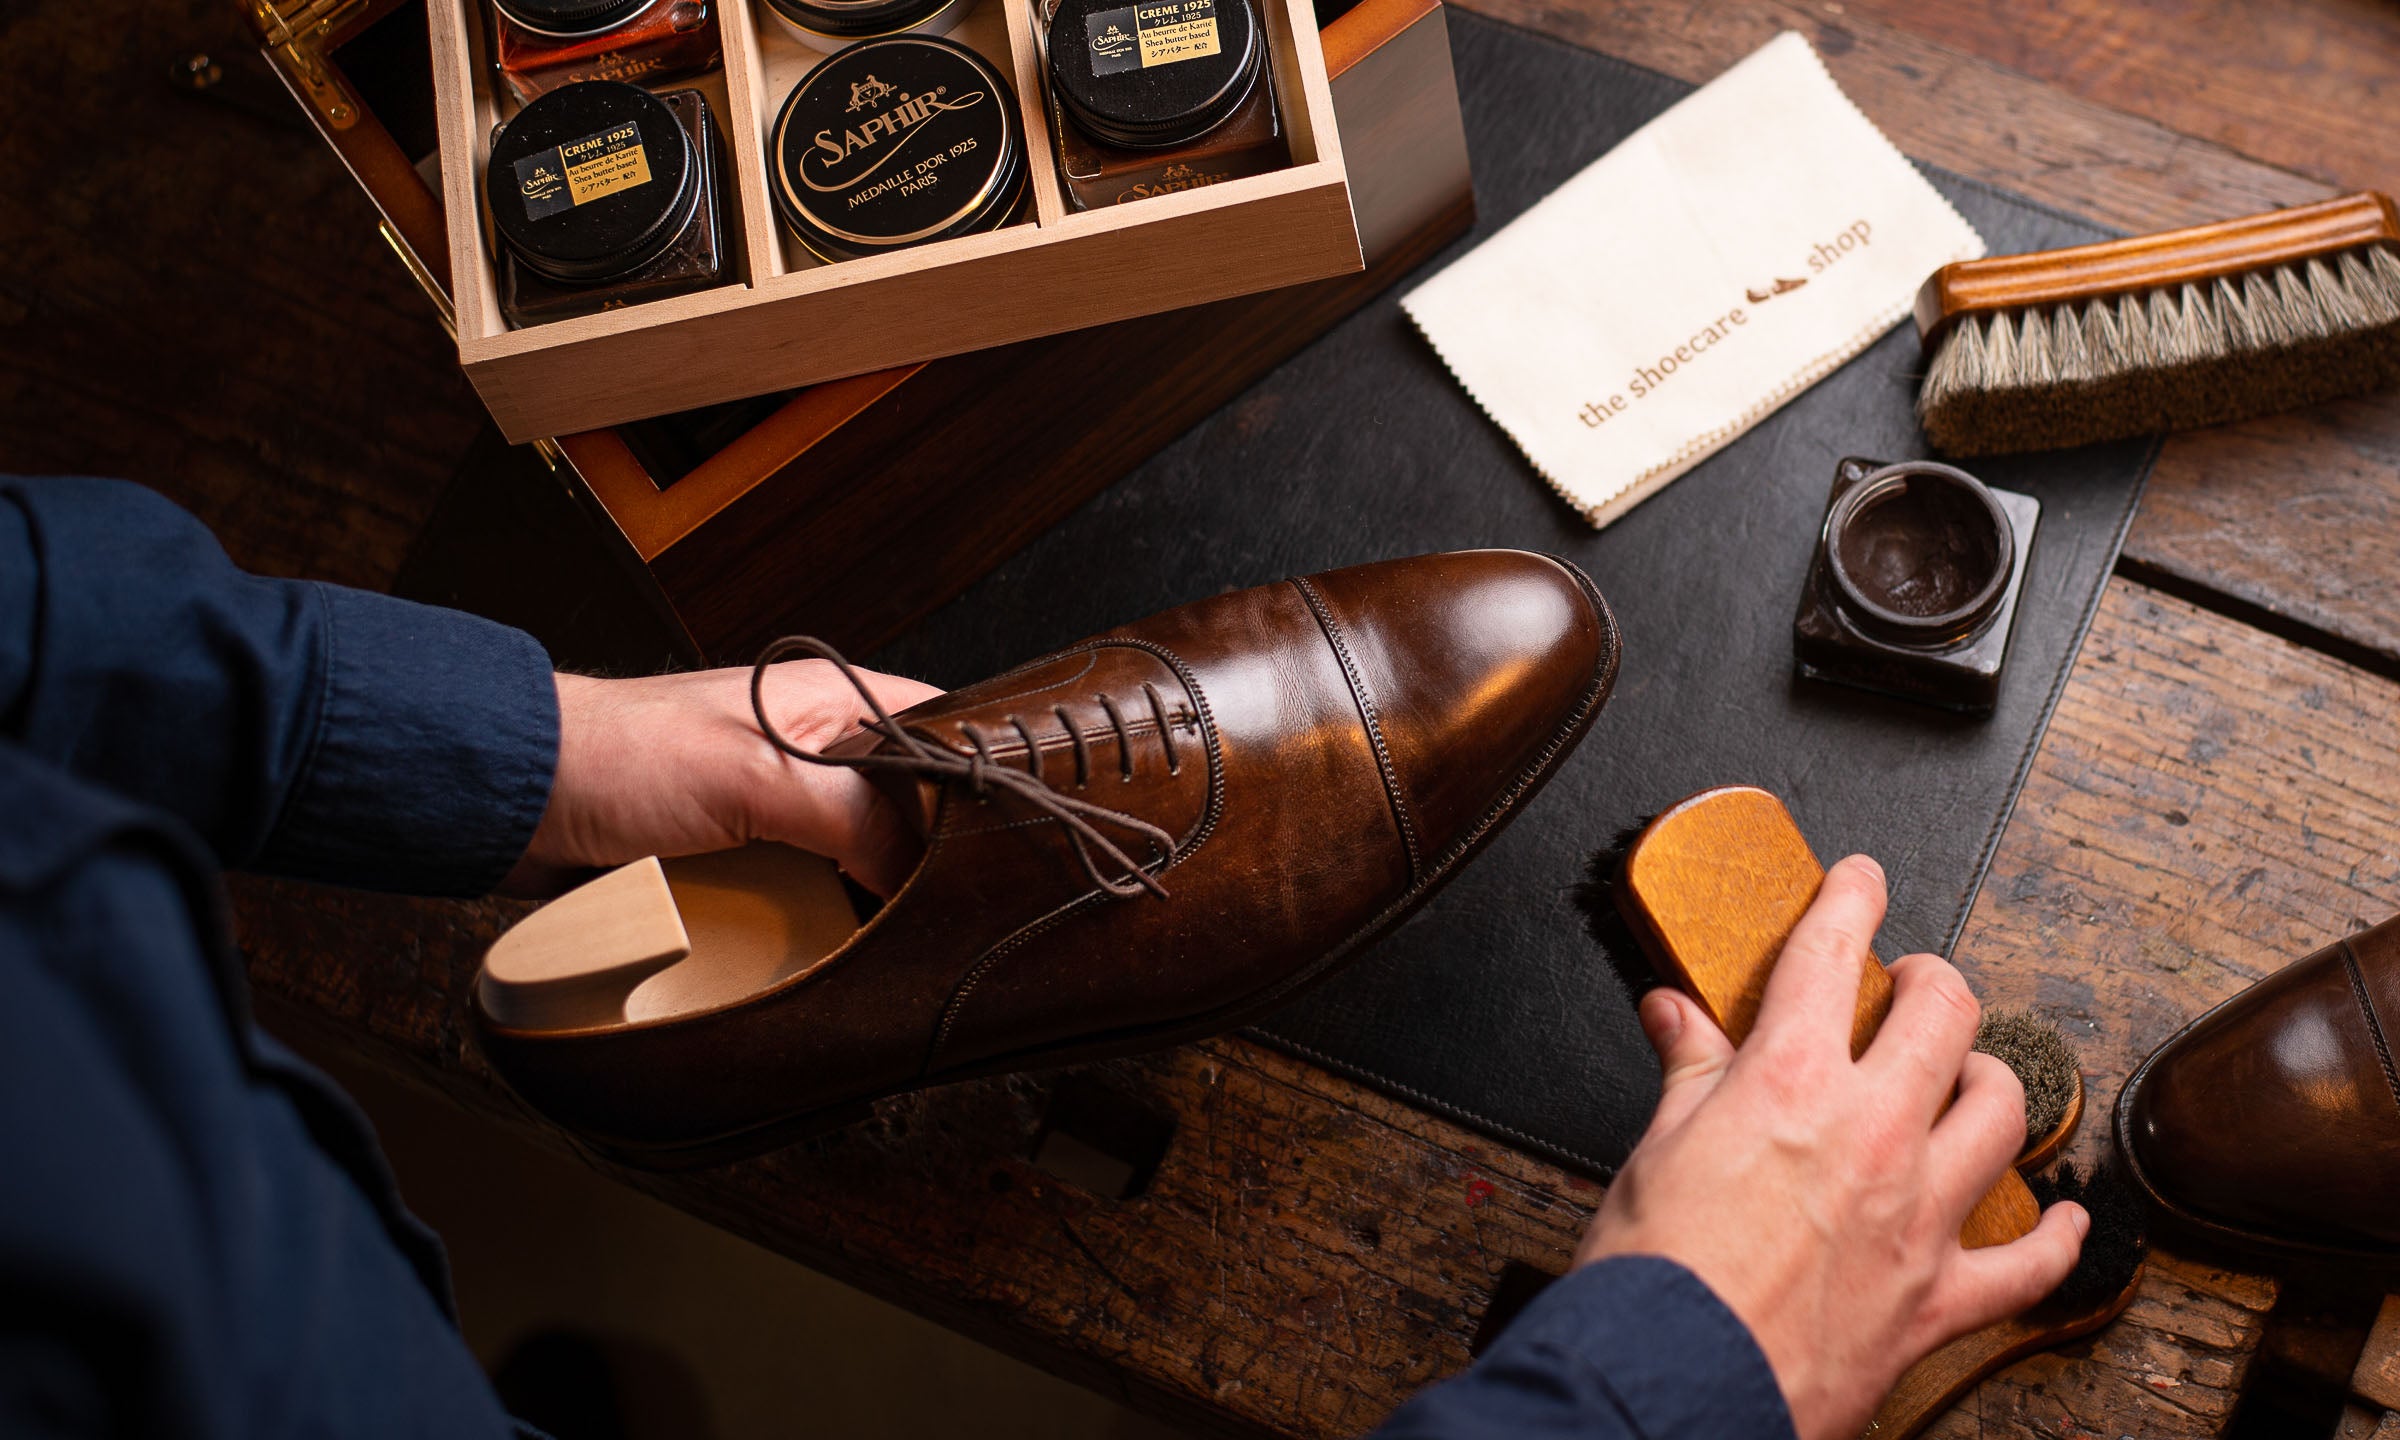
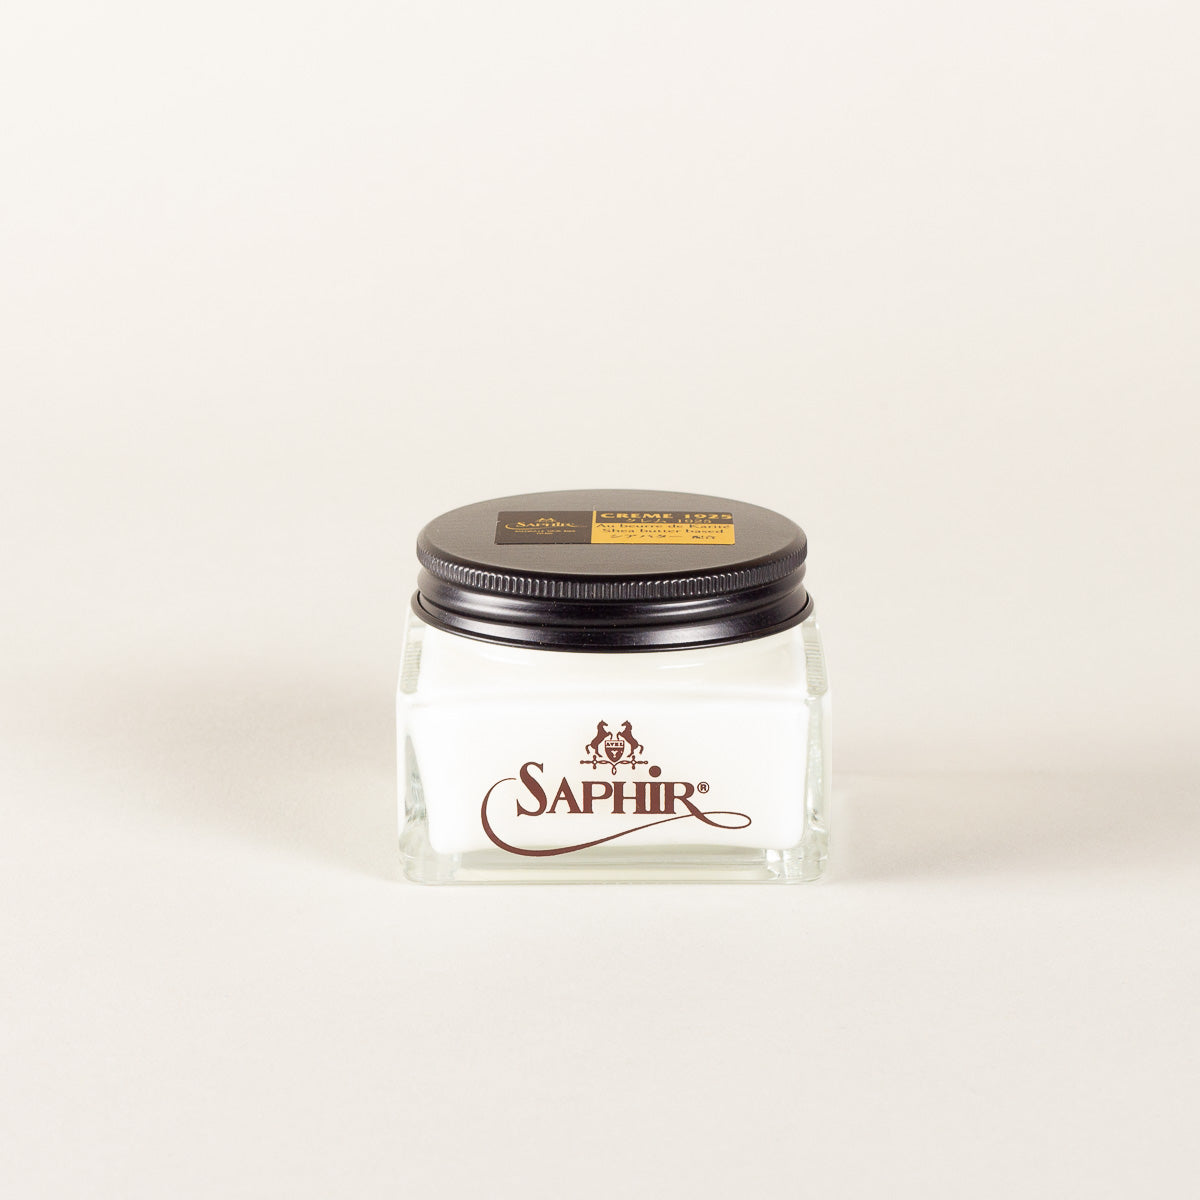
Normally, you’d start a shine with Saphir Médaille d'Or Renovateur, but since your shoes have just been dyed, you can skip that step this time. Instead, begin with Saphir Médaille d'Or Pommadier shoe cream. It’s gentler, so it won’t lift as much of the fresh dye. The beeswax in the cream also helps to set and seal the new colour right away.
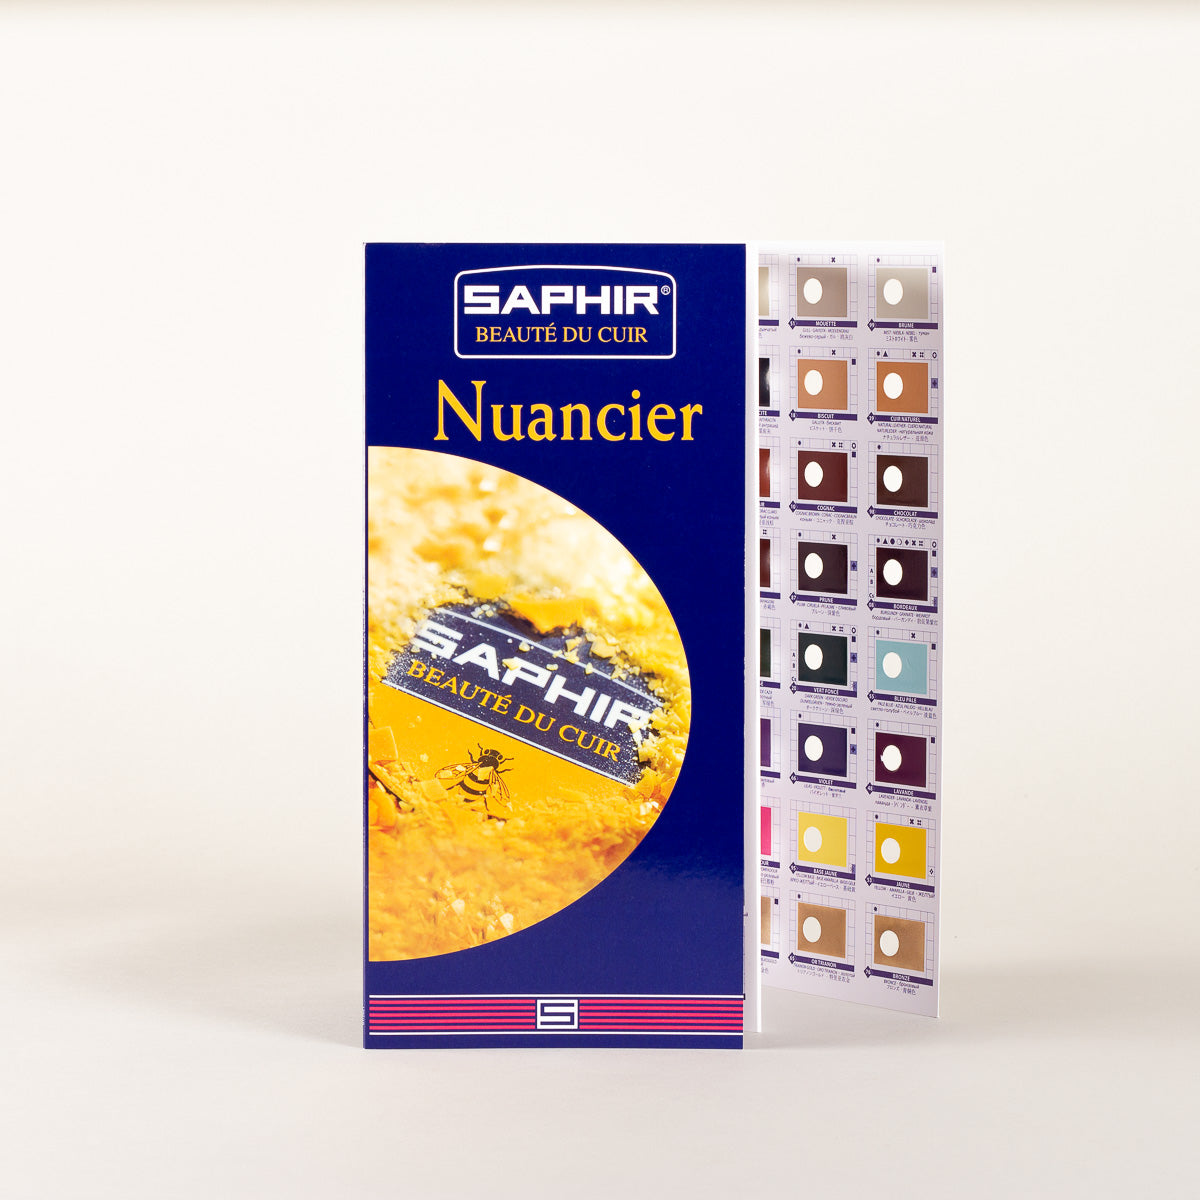
If you use a coloured Pommadier cream, it will cover some of the small imperfections left over from the dyeing process for a smooth finish. Choose a shade that matches your new shoe colour closely. Have you added intentional colour accents you’d like to keep visible? In that case, go for a neutral (colourless) version of the cream.
Apply the cream with a soft cloth or applicator brush, spreading it evenly over the leather. Let it absorb for about five minutes. The cream nourishes the leather, restores colour, protects it from the elements, and gives a subtle shine. Finally, end with a horsehair brush for an even, velvet shine finish.
Tip!
Pommadier shoe cream is available in neutral (colourless) and in a range of colours. Check our colour guide for more advice on choosing the right shade.
Products for this step
High gloss finish & sole edges
Use Saphir Médaille d'Or Pate de Luxe to create a waterproofing high gloss finish on your shoes. Begin by applying a very thin layer of Saphir Medaille d'Or Pate de Luxe shoe wax using a cloth. Be sure to spread the wax over the shoes as thin as possible. Afterwards, shine your shoes with preferably a cotton cloth (or a brush) to shine up the wax polish on the shoes. For new shoes or shoes that haven't been shined recently it can be beneficial to repeat this step once more after you are done.
If your shoes have leather soles, treat the edges with Pâte de Luxe wax in the sole colour to cover scuffs and add shine. For extra waterproofing, apply Saphir Médaille d'Or Sole Guard directly to the bottom of the soles. It protects the leather against moisture, keeps it flexible, and helps prevent the soles from wearing out too quickly.
Tip!
For the best shine, use a cotton cloth and buff the wax in quick, circular motions. This method brings out the deepest gloss, but it does take a little more time. If you prefer speed over perfection, a polishing brush is a great alternative. It removes excess wax quickly and still leaves your shoes looking sharp and well-finished.
Products for this step

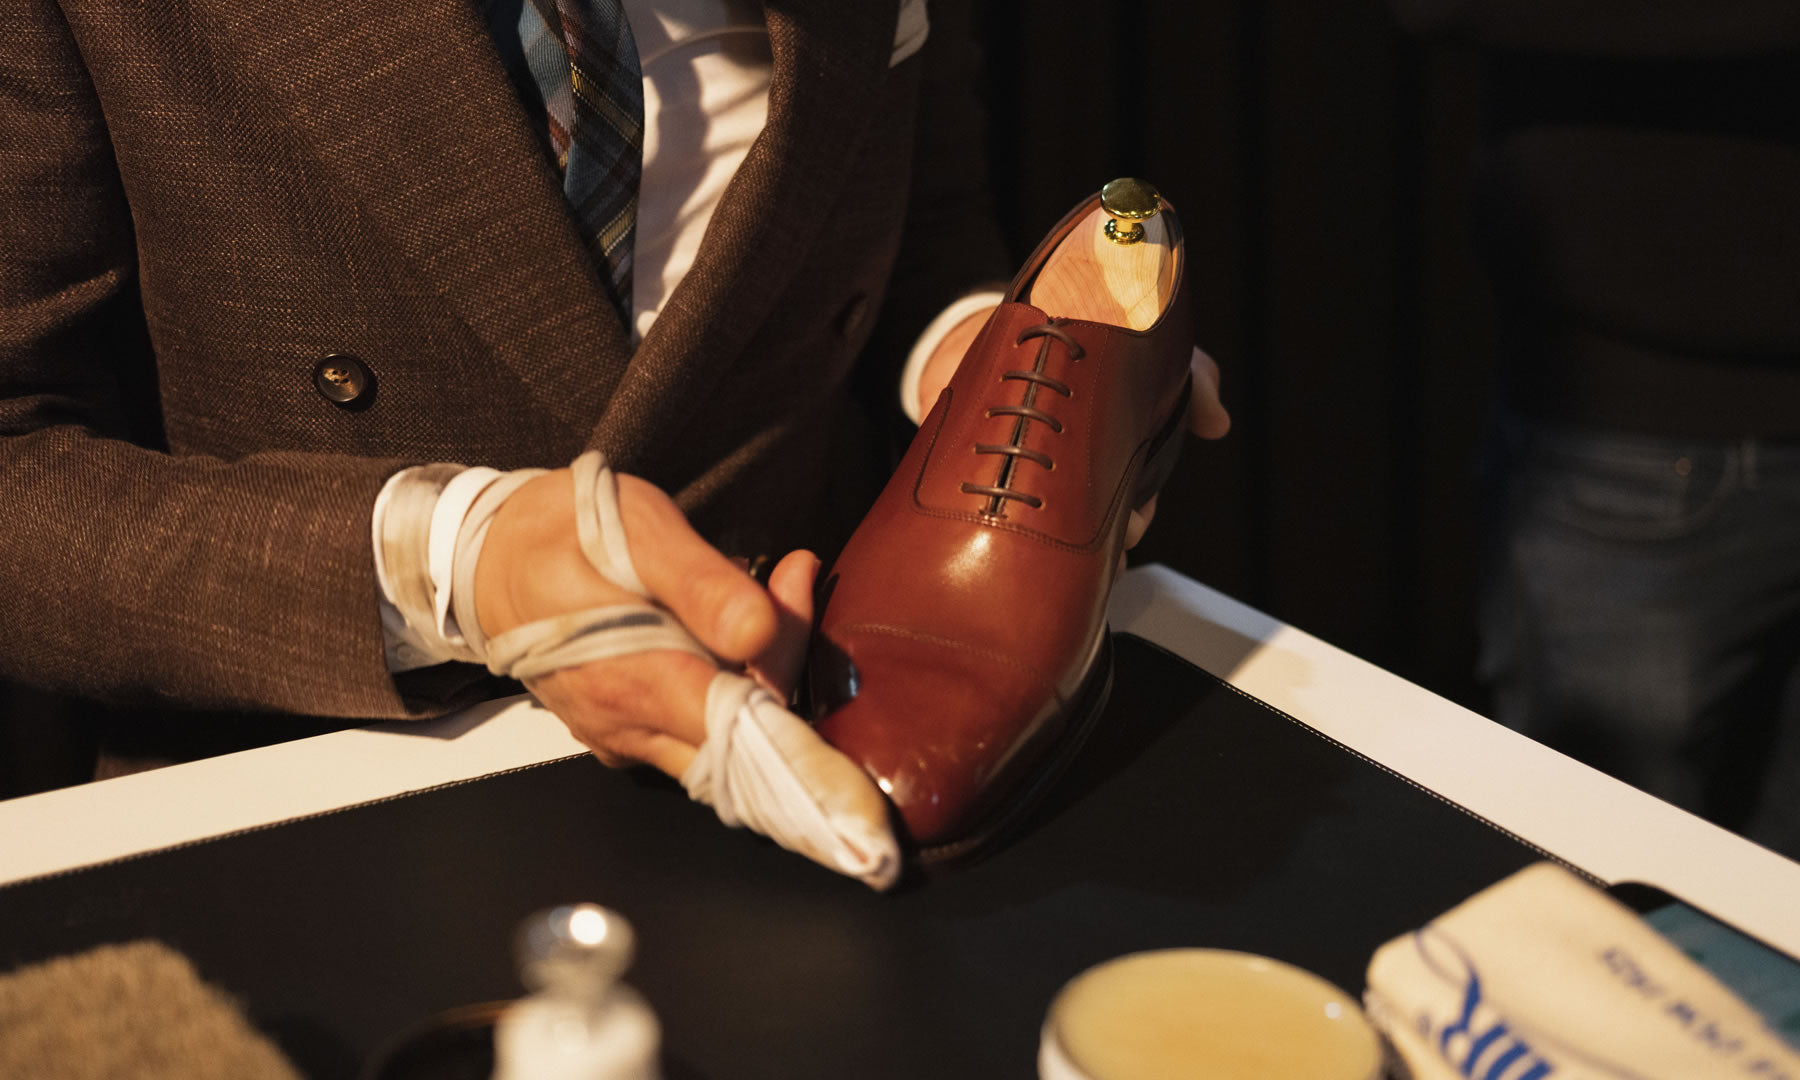
Mirror shine
Last, but not least you can mirror shine your shoes using a combination of Saphir Médaille d'Or Pate de Luxe and Saphir Médaille d'Or Mirror Gloss. This way you create a mirror-like finish on the surface of the leather. The smoother your wax layers, the more shine you get. A good rule to follow is to only mirror shine the toe cap and heels of your shoes. This way, you prevent the wax from cracking while wearing them.
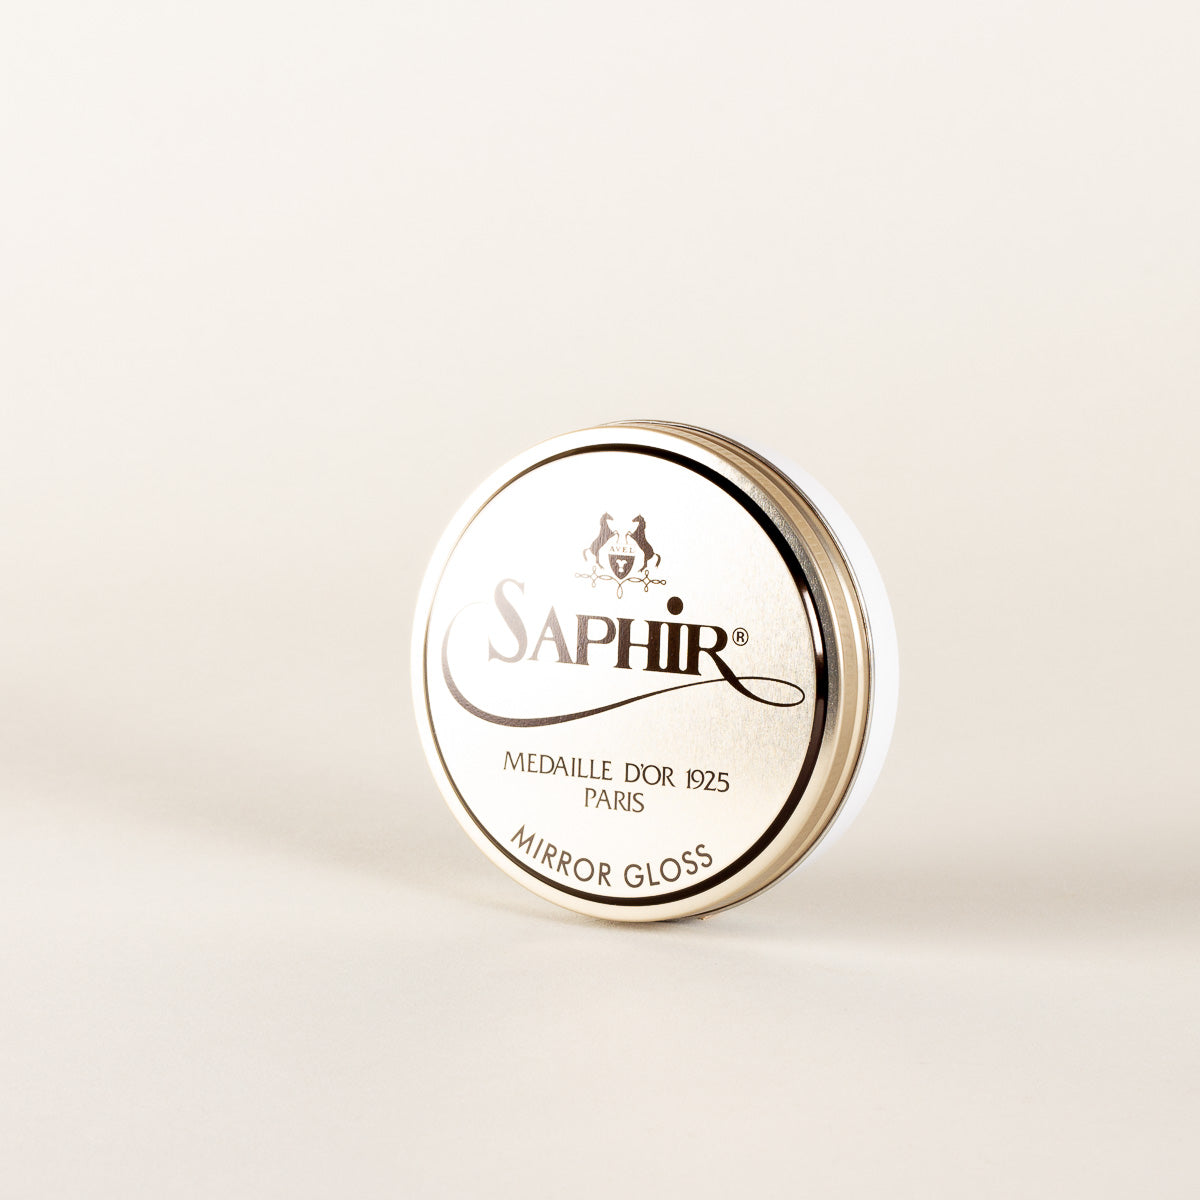
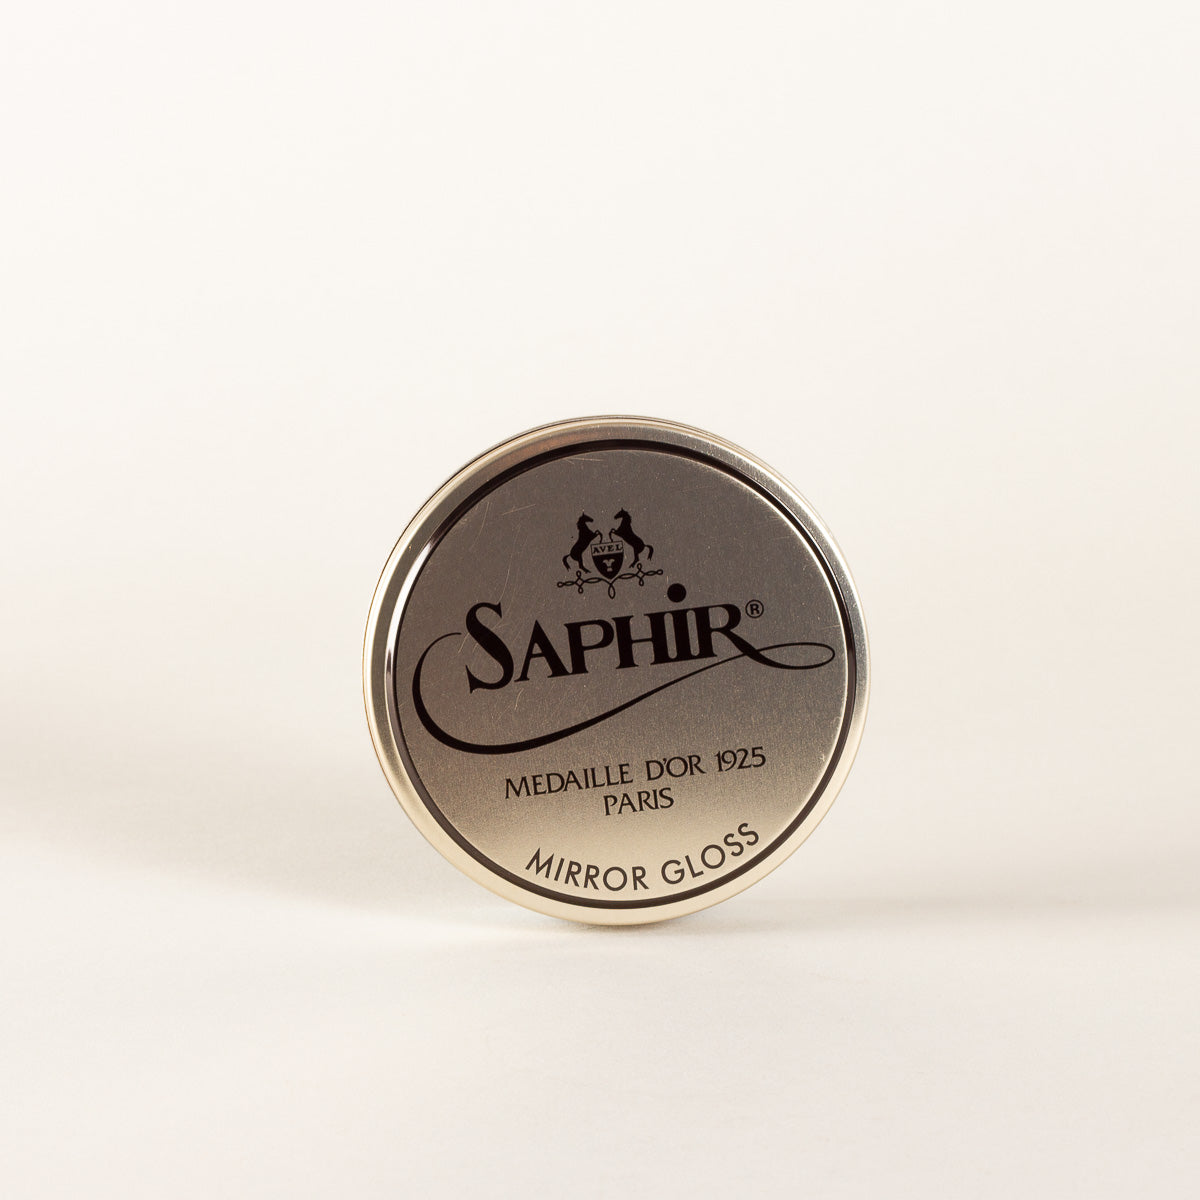
Layers 1-3: Start building up a foundation with Mirror Gloss. This hard wax will more easily fill up the pores and structure of the leather creating a smooth surface.
Layers 3-6: The next 3 layers will be Pate de Luxe. Apply an extremely small amount each time and buff using a drop of water or our high shine water.
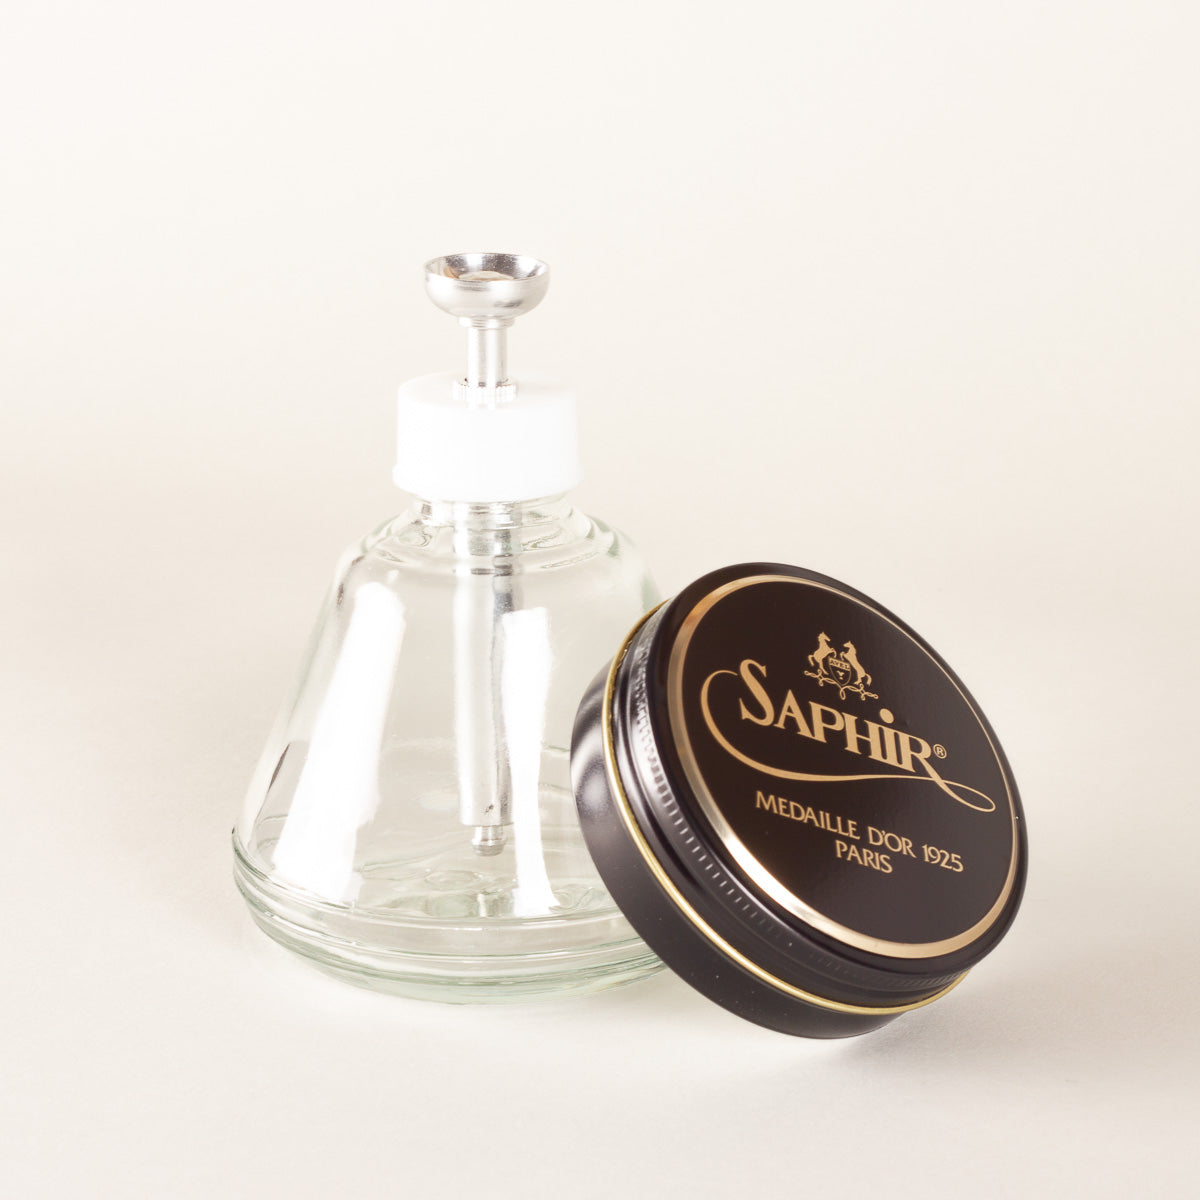
Tip!
Use a drop of water while buffing out the wax to extract extra shine from your shoe wax. Our water dispenser and High Shine water help you apply exactly the right amount.
Products for this step


You might also be interested in these guides
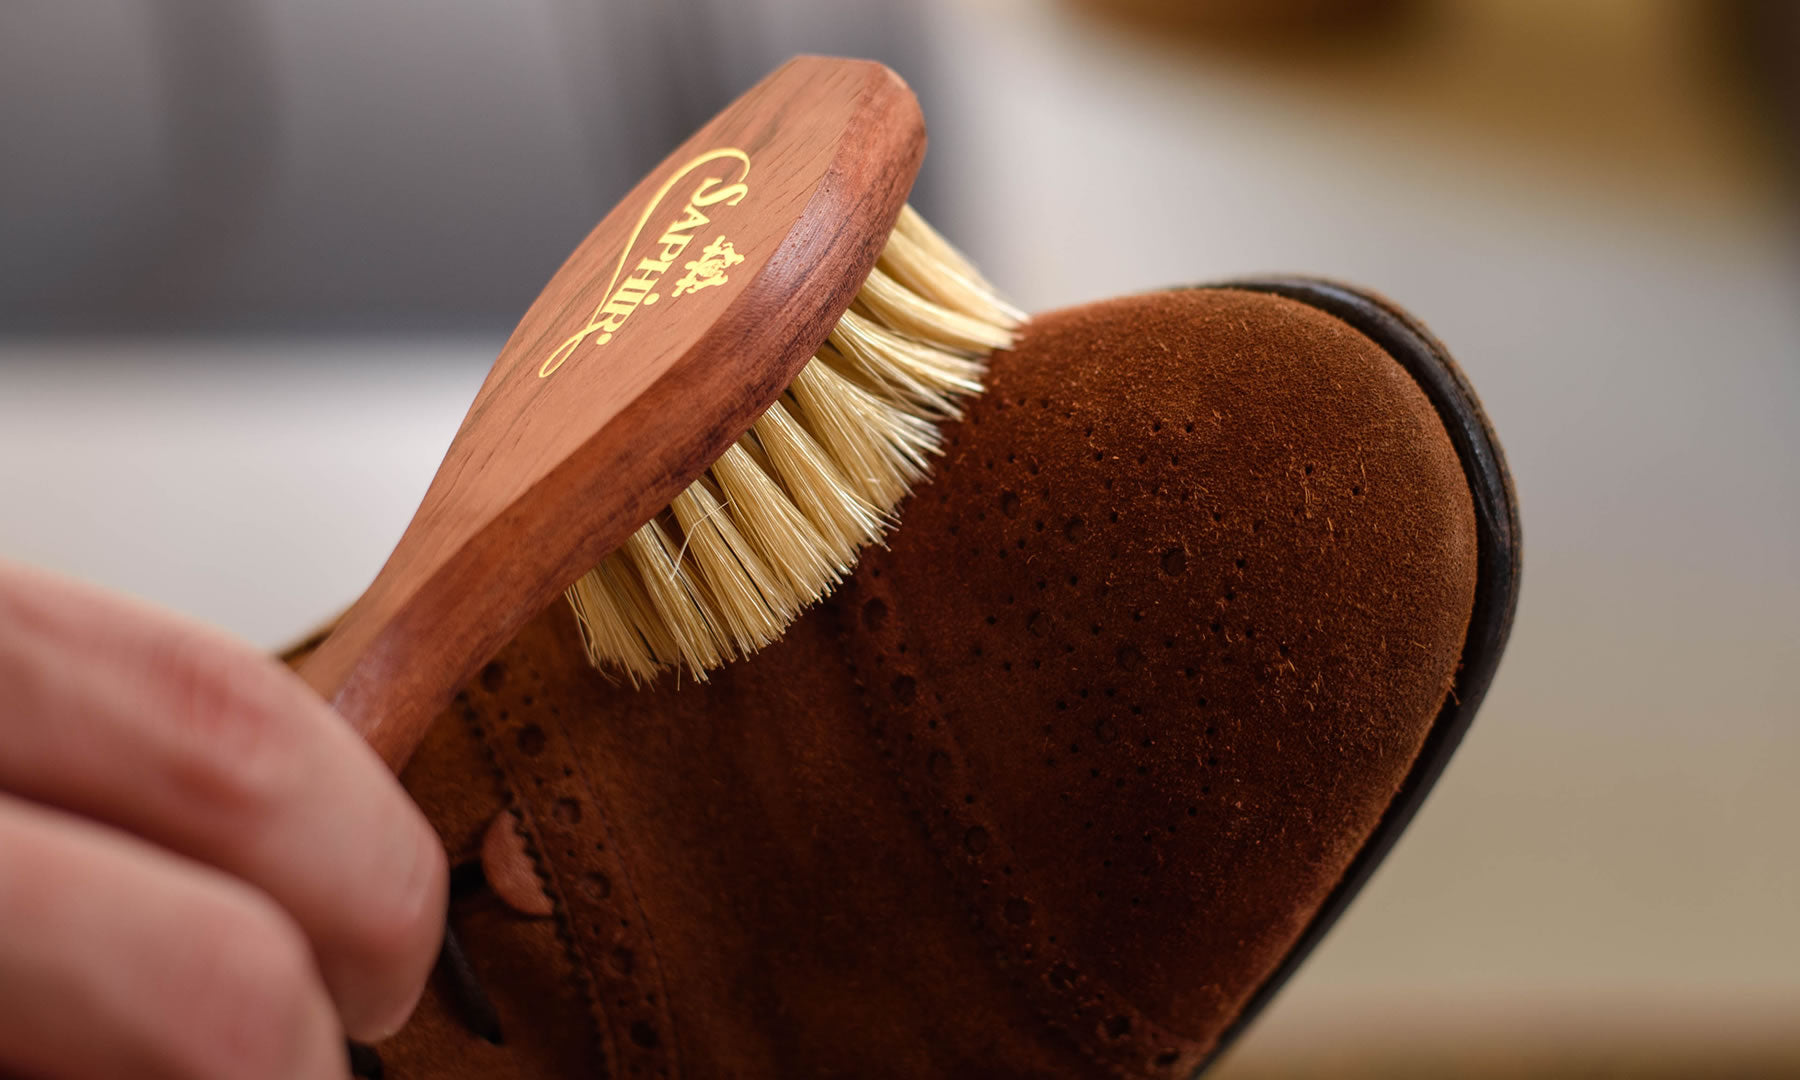
Suede and nubuck guide
Freshen up your suede and nubuck shoes with this quick and easy maintenance guide.

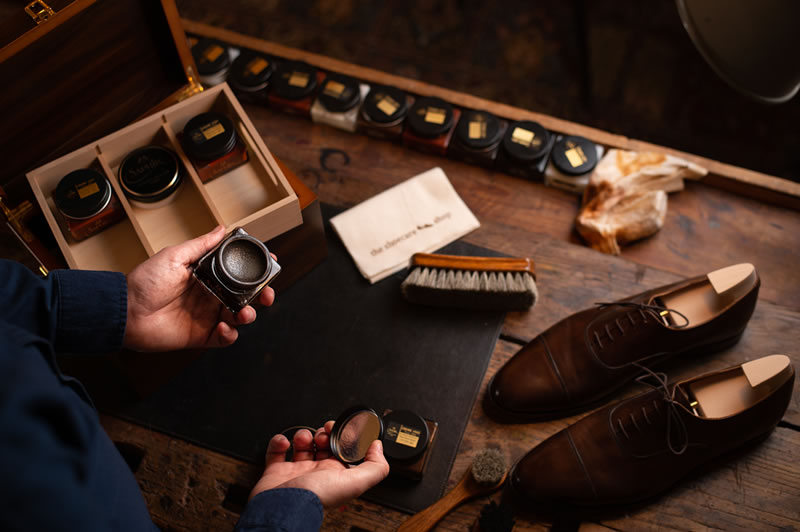
Advanced shoe shine guide
Want to lift your shoe shine to the next level? Be sure to give our advanced shoe shine guide a read.
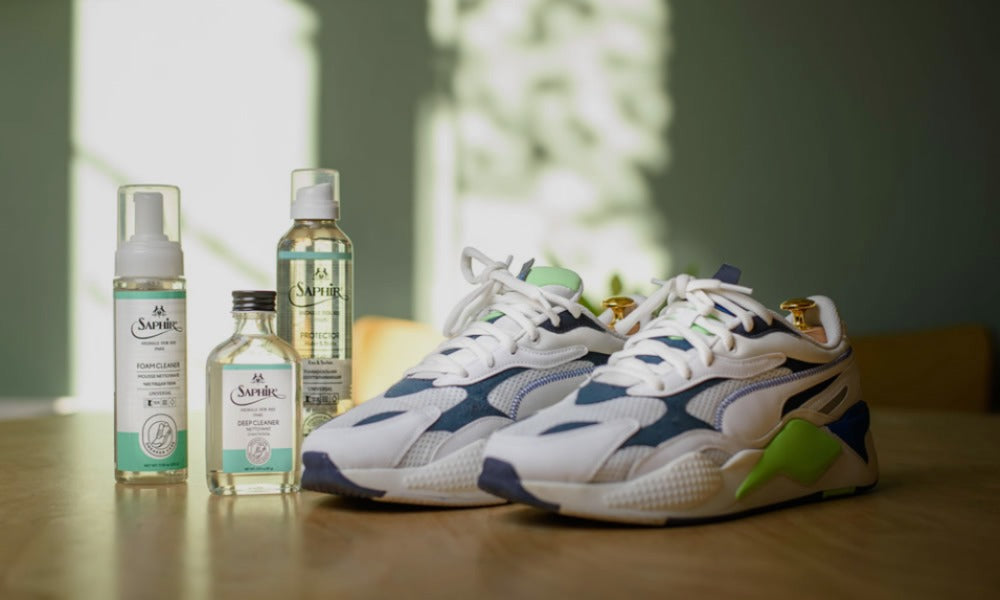
Sneaker cleaning
Make your sneakers as good as new with this sneaker cleaning guide.

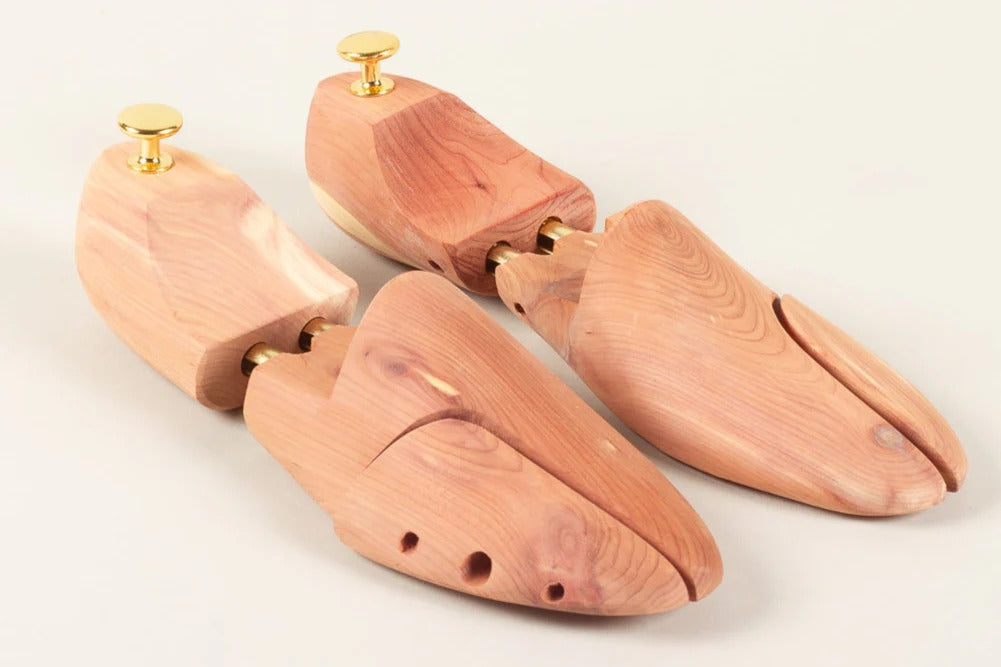
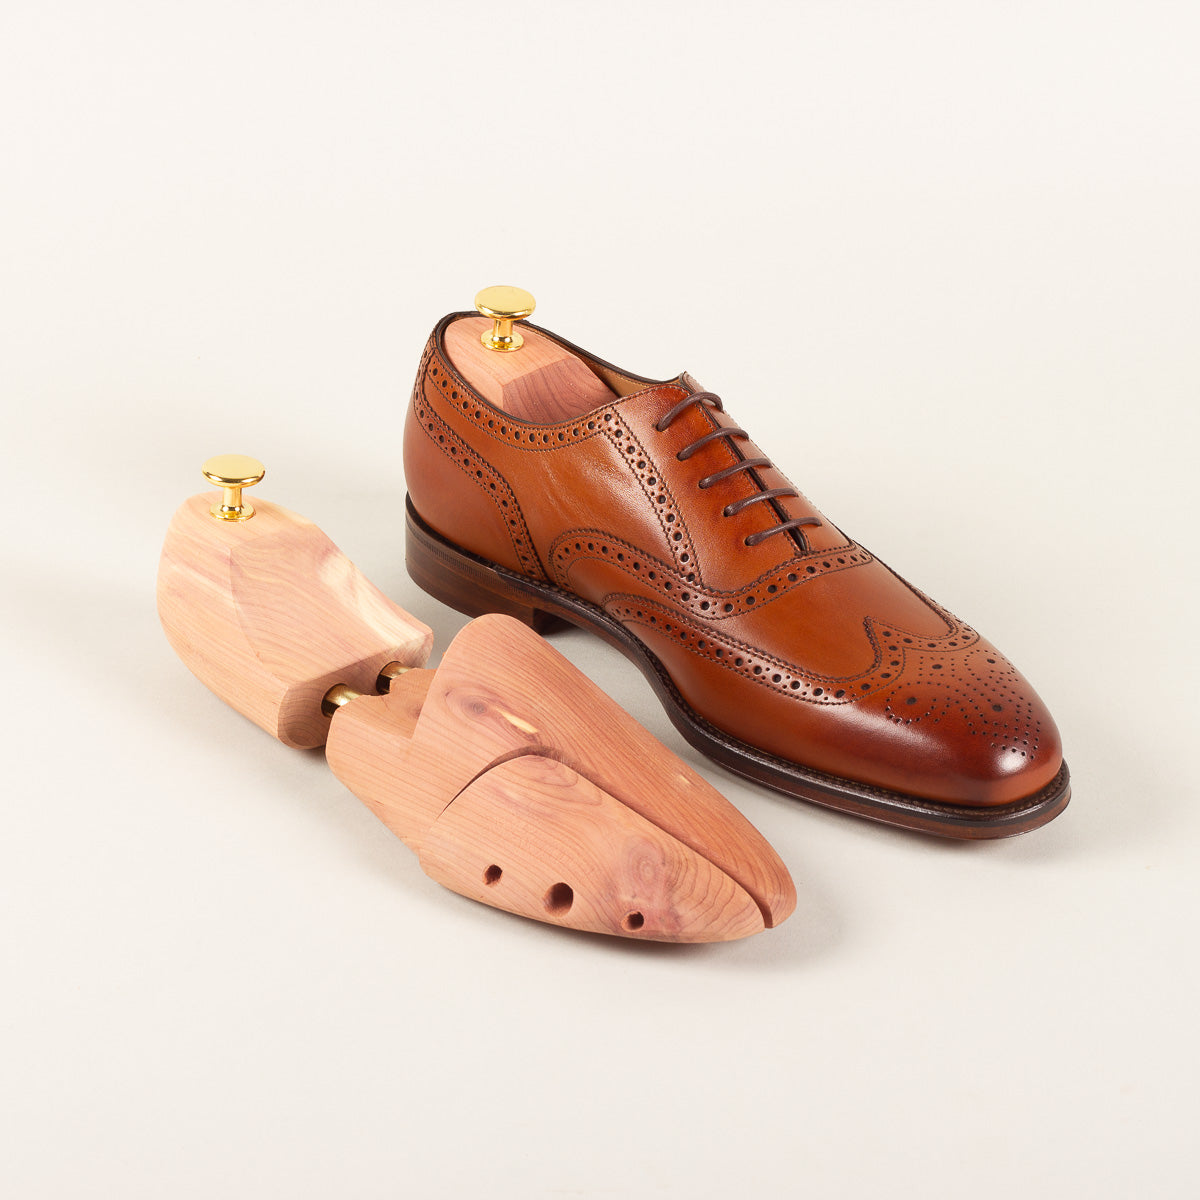
Shoe Trees
Keep your shoes in shape with a pair of well made wooden shoe trees.